


Your cart is currently empty!
Digital Kit Design » The Okse (32mm scale gaming mecha)
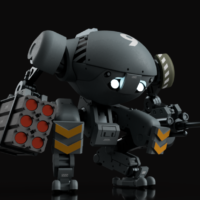
I get asked to tailor existing 3D kit designs for tabletop gaming a lot, but it’s more work than most realize since most of my work has fit tolerances and articulations built in for larger print scales. Simply reducing them doesn’t always work since parts no longer slot and details…


![Maude [Cyborg Action-Doll] (Files Only)](https://fichtenfoo.net/blog/wp-content/uploads/2023/01/Maude-Promos-300x300.jpg)


