


Your cart is currently empty!
Tutorial » Simple Doll Face-up using my Maude figure
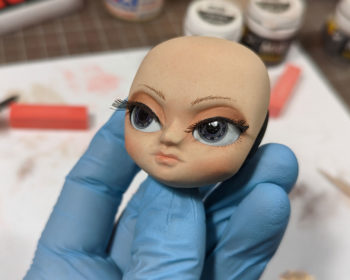
Been a while since I posted a tutorial or tips and tricks here. I’d like to do more of it like I used to, especially with a decade’s more skill than I had when I used this site more. haha! My main motivation for my tutorials are pretty selfish though…
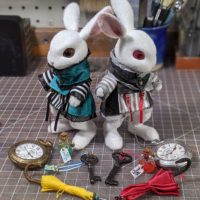


![Maude [Cyborg Action-Doll] (Files Only)](https://fichtenfoo.net/blog/wp-content/uploads/2023/01/Maude-Promos-300x300.jpg)


