


Your cart is currently empty!
Completed » Mushroom Goblin

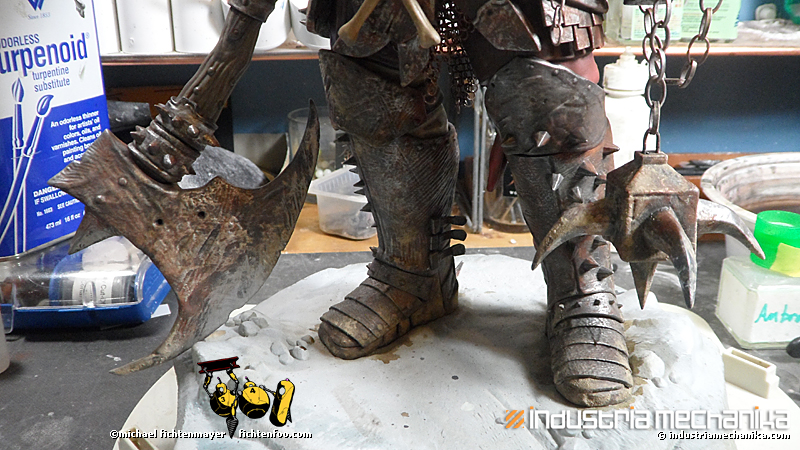
This is the Mushroom Goblin from Industria Mechanika designed by Adrian Smith and Rishi Nandlaskar. Painted with oil paints over a base coat of acrylics. Hair is white crepe hair that I dyed with acrylics. Base is real moss since this is 1:1 scale and a slice of birch with…


![Maude [Cyborg Action-Doll] (Files Only)](https://fichtenfoo.net/blog/wp-content/uploads/2023/01/Maude-Promos-300x300.jpg)


