


Your cart is currently empty!
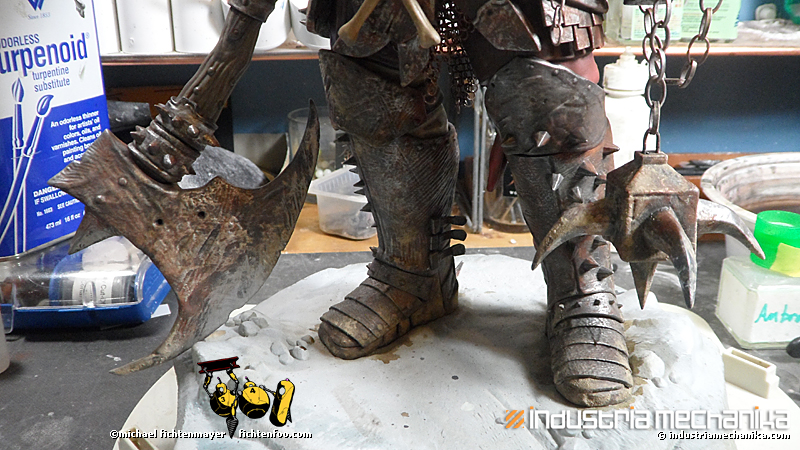
Completed » Frankenstein

Yesterday my laser-cut foliage (thanks to Jason Eaton) arrived and I immediately set everything else aside to finish Adrian Smith’s Frankenstein up. Like the other plants, I sponged acrylics onto both sides of the paper and embossed them with dental tools. For the daisies, I used stretched sprue for the…


![Maude [Cyborg Action-Doll] (Files Only)](https://fichtenfoo.net/blog/wp-content/uploads/2023/01/Maude-Promos-300x300.jpg)


