Your cart is currently empty!
In Progress » The Dustbuster [Industria Mechanika Release]
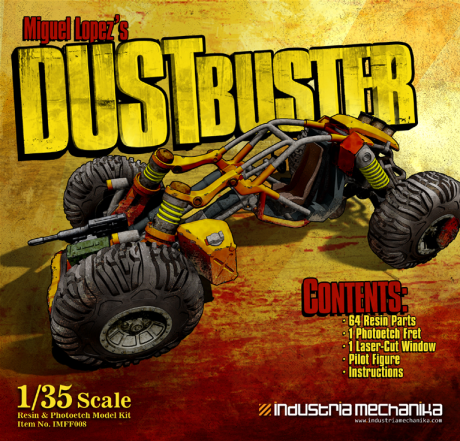
Next up on my ever expanding paint-queue is the 1/35 scale Miguel Lopez/Nate Clowar Dustbuster produced by my kit production company: Industria Mechanika. I’ll start this off with a video showing off the casting and my sample build-up with I’ve started painting last night.
httpv://www.youtube.com/watch?v=1nFXfOBo0C8
Since I had to glue many of the parts together for the video, I thought I’d made painting more difficult for myself, but the reality was better than expected and it went very smoothly. In fact I’ve done everything you see below in a 24 hour period.
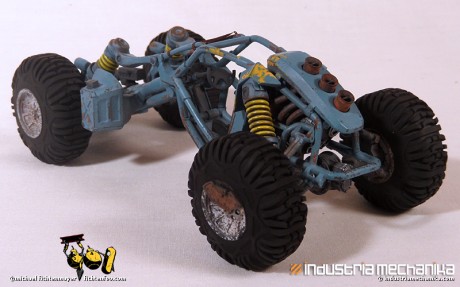
I started off by priming the parts (except the figure) in Dark Gray Duplicolor primer. I then sprayed them with Dark gray Tamiya Acrylic then mottled over that a custom rust-colored mix of Tamiya. Over that I sprayed a flat coat of Future and let that cure.
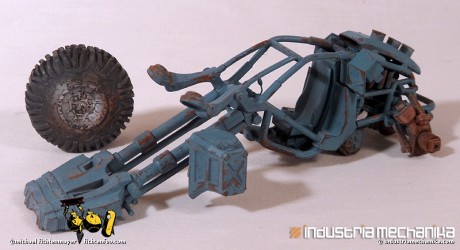
I let that cure overnight and then sprayed the parts with Hairspray, sprinkled with salt, and then airbrushed on the blue custom Tamiya mix (or white for the tires) top-coat. After 10 minutes or so I began to chip away the blue paint with a brush and water. Below are the results.
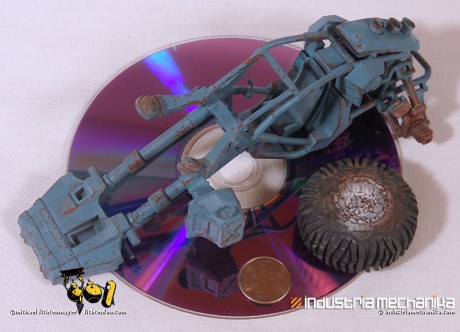
Also I get the impression that those of you who don’t have the kit think it might be tiny. I think it’s pretty nice-sized really. Larger than a CD.
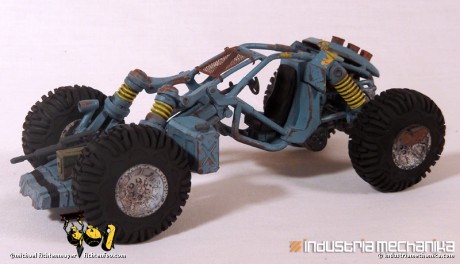
After chipping away the top-coat, I went back and hand-painted the engine (under the blue roll-cage frame) and other details. This was the part I thought would be difficult, but it went quite smoothly. I just used thin paint and a long thin brush. I masked the hub-caps with Parafilm M and sprayed the tires black. I still need to properly attach the photoetch mesh “windshield”.
Next up I will do some filters and discoloration. I’m really looking forward to adding the mud and dust!
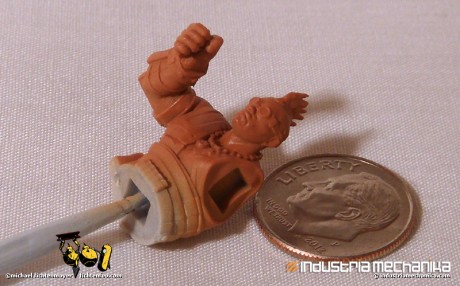
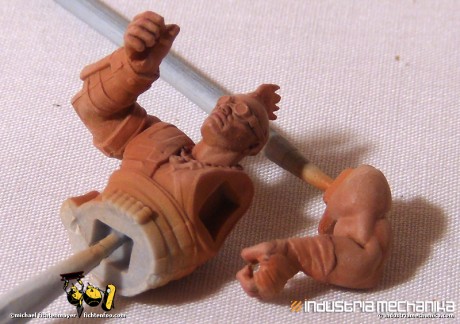
I’m also painting the figure. I started off with spraying a thin dark-tanned flesh mix over a white base-coat.
Over that I brushed a lighter flesh tone of oils over the raised spots of flesh and blended them into the base coat. Added a little bit of wash to the edges/recesses and some red to the lips, cheeks and ears. I’ll do this one more time when this coat is dry to further highlighting. He’s got a lot of details so I’ll have a lot to paint. Also VERY TINY!!!!!
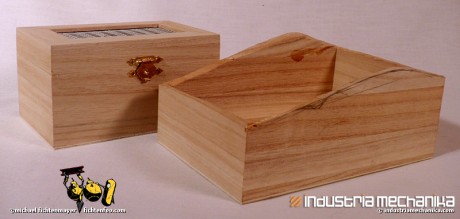
And lastly, I started work on the base. This is a simple cheap wooden jewelery box I picked up at Michael’s Crafts. I use these a lot and they come in different sizes. I carved this one with a utility knife and will fill the inside with foam before a layer of plaster and celluclay. The Dustbuster will be on two-wheels only on the base so that it appears to be jumping over the hill.




![Maude [Cyborg Action-Doll] (Files Only)](https://fichtenfoo.net/blog/wp-content/uploads/2023/01/Maude-Promos-300x300.jpg)


