Your cart is currently empty!
In Progress » Naboo N1 Royal Starfighter Trio
I didn’t know that these kits existed until last week! I’ve been in such an Industria Mechanika cloud that other genres I typically build have kind of book set aside so could focus. However while looking at HLJ for another plastic kit (The Hasegawa Last Exile II Van Ship) I saw these and had to bite on 3 of them as I’ve always really liked the design. I figured I’d put them in the stash and get to them whenevs, but not the case. I started these on Friday afternoon and as of Sunday night, they’re just about done aside from the final pigments. They’re a great “Mental Health Build” although mine usually end up being more “Mental” than “Healthy” … Anyway, here’s the progress pics and details:
Building these is a breeze thanks to Fine Molds usual detail and good parts/nub placement. Only needed a little putty to smooth the seams on the grey/chrome engine parts. I also used just a little epoxy putty in-between some of the color-separated parts to have the panel lines not be so deep.
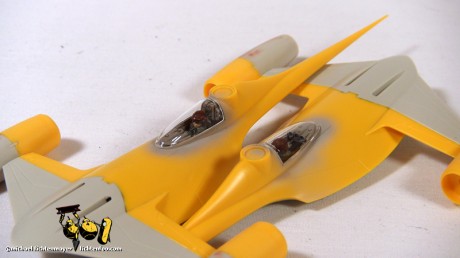
I used the normal pilots (not Anikan) for all 3 craft. I hand-painted them with Tamiya Acrylics and gave them a little oil paint wash. I painted the interior and gave that a slight wash as well. The canopies were dipped in Future and when dry attached to the hull.
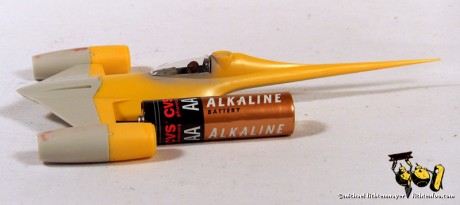
As you can see by the AA battery, it’s not a very large piece.
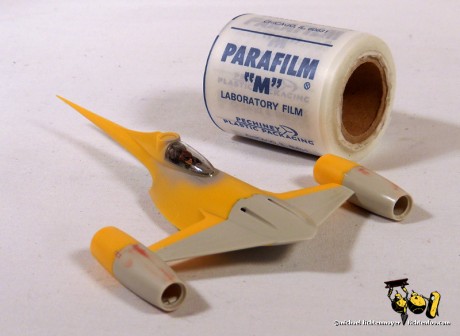
Once the glue holding the canopy had dried, I covered the canopies with 2 layers of Parafilm M.
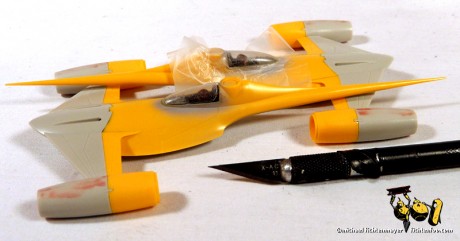
Using a sharp razor and a steady hand, the excess was trimmed away leaving just the “glass” masked.
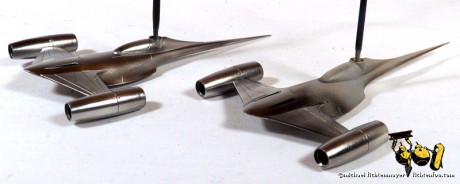
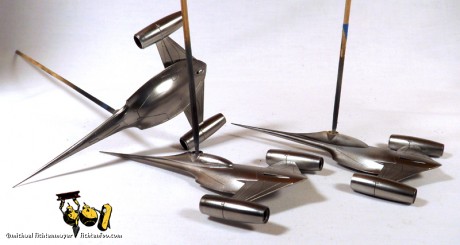
Ships were primed with Mr Surfacer 1000, then painted in Mr. Color Gloss Black and Alclad II Polished Aluminum. (kinda like their chrome) I had planned to do one of the three in all metal, but once I started, I realized I didn’t like the look after all.
Once the metal cured, I buffed the parts with some AK-Interactive Dark Steel pigment which kept it very shiny, polished it to a nicer sheen, and darkened the metal a bit. Then the metal was coated in a thin layer of gloss Future Floor Acrylic.
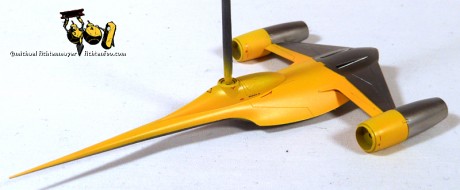
The metal was masked off based on my references making sure the metal went all the way to the edges on the bottom and cut across the front yellow plastic portion of the craft. One could get a decent looking N1 without masking, but to be accurate, masking is a must. For the yellow I first sprayed on a nice even coat of Tamiya white, then an even coat of Tamiya Flat Yellow. I then sprayed some custom yellow-orange Tamiya (yellow + red) around the edges and such to do some slight modulation highlighting. So the top-center of the hull and the engines are slightly lighter than the rest. Then I coated it in gloss Future and removed the masking tape.
I applied the very nice kit-supplied waterslide decals. These are very nice and go on easy enough. The R2s are tricky, but I’ve decaled enough Fine Molds R2’s over the years that I knew what to expect. A semi-gloss coat was applied to all the parts.
Before removing the Parafilm from the canopy, I misted on some AK-Interactive Winter Streaking Grime with the airbrush. No need to thin it, but make sure the mist is very finely applied. Don’t overdo it. Then you can take brushes dampened with odorless Turpenoid and streak/blend/mottle in the grime so that it deposits in the panel lines and elsewhere.
Next-up I’ll apply some “black” pigment burns and weapon-streaks (or I’ll airbrush them on) and then I’ll do a little more of the Dark Steel pigment application to bring back some of the metal obscured by the clearcoat and grime.





![Maude [Cyborg Action-Doll] (Files Only)](https://fichtenfoo.net/blog/wp-content/uploads/2023/01/Maude-Promos-300x300.jpg)


