Your cart is currently empty!
In Progress » Remora Pair » Remoras and Bridge
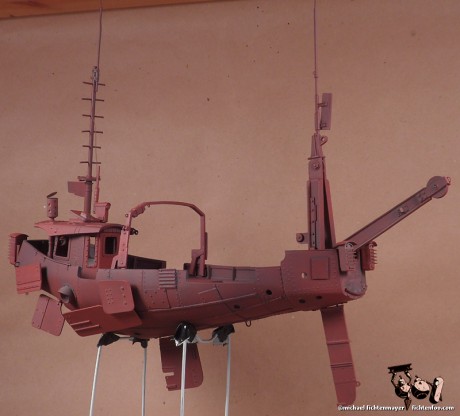
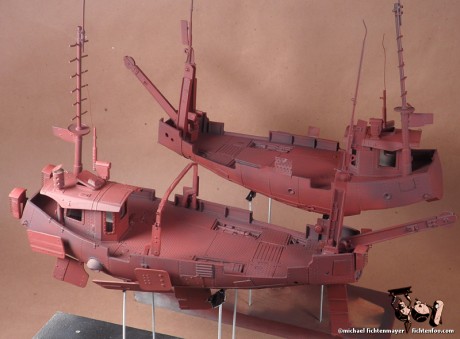
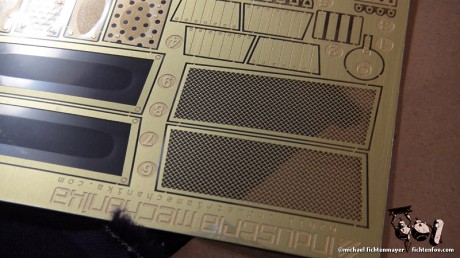
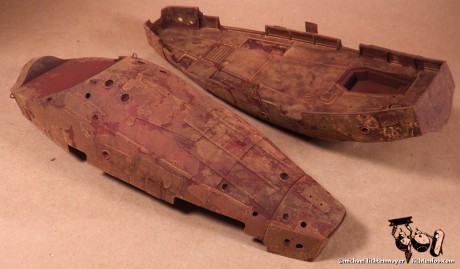
Sorry for the update delay, but the holidays and getting the Remoras shipped out took a good bit of time. Now that they’re here and shipped I’ve started on this pair. The clean-up went smooth enough… typical sanding and whatnot.Working with the photoetch and starting to pin it all together is where I really started having fun with it. I included a bunch of extras on the PE sheet and for the most part didn’t have a plan on where to put them. I added them to make customizing your own ship simpler. So you can see on the pair that I’ve added different panels in different places, then made some more from styrene and metal sheet to further the differences.
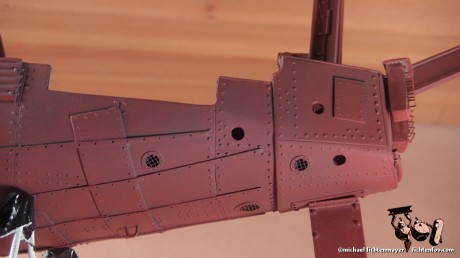
Like the instructions said, I added the McQue-styled holes in the hull then added some of the round grates over them They look great, especially after using some tools to damage a few of the mesh sections.
The large mesh grates for the deck (not shown) are two-parts each. I found it simplest to cut the mesh portions out first then glue them to the frames while the frames were still attached to the fret. Then I damaged and bent them up with some tool handles to make them look like they’ve seen a lot of foot traffic.
I primed the Remoras first in two thin coats Dark Grey Duplicolor auto-primer, then a thinner coat of their Red Oxide colored primer. This gave me a great base color for the rust layer. I airbrushed Tamiya Hull Red over the parts then sponged on some watered down flat Tamiya orange. (flat red + flat yellow since Tamiya doesn’t actually make a flat orange) This kept the surface very smooth and texture-free, but gave me a nice rusty looking surface whuch will show through randomly once I start the hairspray chipping stages tomorrow.
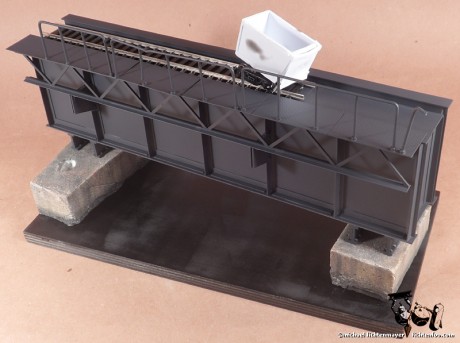
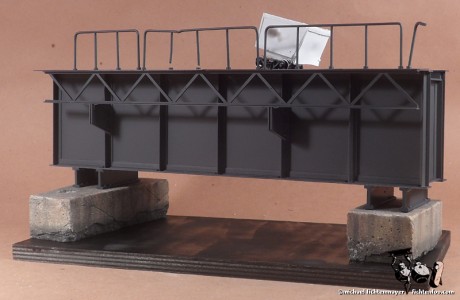
I also finished the bridge span a month or so ago. I ended up using the Archer waterslide rivets which frankly were AWESOME! Primed the bridge, then added the rivets, then primed again. Couldn’t be easier.




![Maude [Cyborg Action-Doll] (Files Only)](https://fichtenfoo.net/blog/wp-content/uploads/2023/01/Maude-Promos-300x300.jpg)


