Your cart is currently empty!
In Progress » 1/12 Chubu Mechatrobot » Rusted
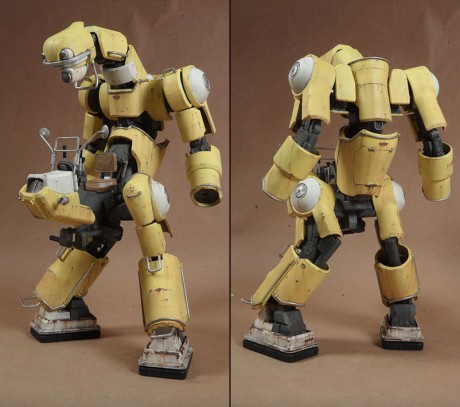
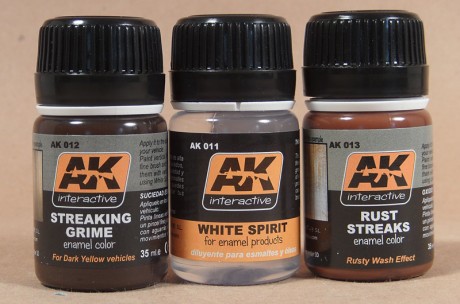
Plugging right along. I got a nice big box of samples from AK-Interactive last week and started putting them to the test on this build. For this progress report I’ll focus on their streaking products, but I’ve tried some of their others since these pics were taken and REALLY like them so far.
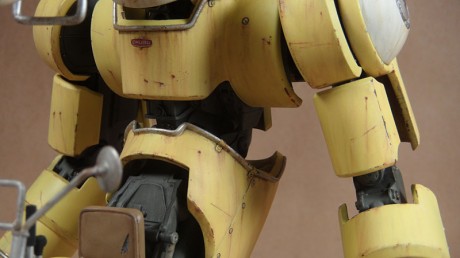
Since the last update I’ve focused on the rust chips. I had started doing a few streaks with oil paint, then the next day the box from AK arrived with samples of just about everything as well as their Washes, Fading and Oils DVD which after watching, I learned how to use these products and just how easy they are to use to get very nice results quickly. I decided to give the bottle of “Rust Streaks” a try first. Basically, you shake up the thinned enamel mixture, paint your streaks on with a thin brush, wait a few minutes, then “stump” (blend/blur) them with a brush dampened with “White Spirits”. And that’s it. After that dried (I gave it a few hours) I went back and added more streaks with the “Streaking Grime” mixture. Same method and same simple good results. I really recommend the products, but also the DVD as it was very helpful.
My only problem is one that has more to do with the kit than the AK products. The Chubu is all curves… and not only curves, but curves at an angle. Since I want to depict a machine that’s been sitting in a farmers field for quite a while, the streaks had to follow these contours. That’s a little more difficult than the flat sides of most tanks and AFVs. However I quickly figured out a simple method of determining the angle streaks should flow. Just use an eye-dropper and water and let gravity be your guide. Nothing simpler than that!
I had to take my chipped areas one step further however due to the large scale. The chips looked decent enough, but were missing something. I discovered on accident that some “rust bleed” around the chips makes all the difference. It looks as if the chips are rusting and the resulting rust is creeping beneath the chips into the surrounding paint. I was applying some rust-toned oil paint to some of the larger chips and over-thinned a few resulting in the bleed. After that I just refined the method a tad. Just paint the chips with slightly thin rusty oils (I used the 502 A. Dark Rust) then using a thinner-dampened brush, feather the rust paint around the chip.
Now I’m onto the pigment dust and fuel/oil grime and stains phase. Pics on that in a few days.


![Maude [Cyborg Action-Doll] (Files Only)](https://fichtenfoo.net/blog/wp-content/uploads/2023/01/Maude-Promos-300x300.jpg)


