


Your cart is currently empty!
Completed » The Industria Mechanika/Scott Robertson Orb Ship

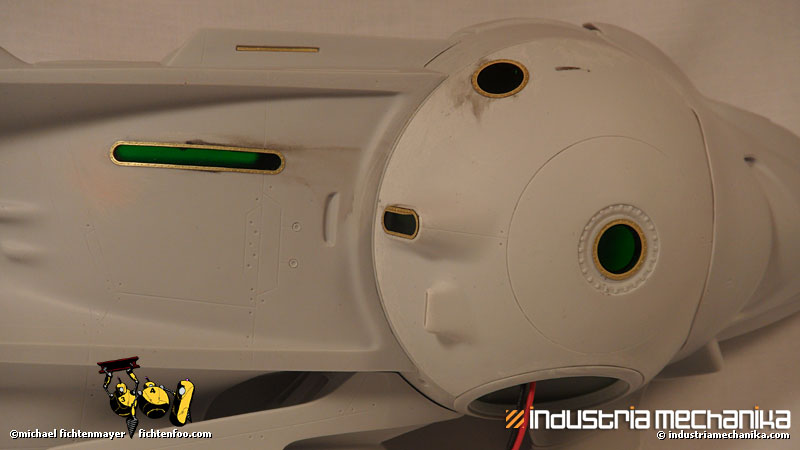
And she’s done! I had a good time building this up, even though I had to put it on hold for months due to work commitments. The final photoshop wallpaper was especially fun. I used one of the dark photos to create it. The batteries are in and the lights…


![Maude [Cyborg Action-Doll] (Files Only)](https://fichtenfoo.net/blog/wp-content/uploads/2023/01/Maude-Promos-300x300.jpg)


