Your cart is currently empty!
Snowy Groundwork and Brush (Modded from BK’s Method)
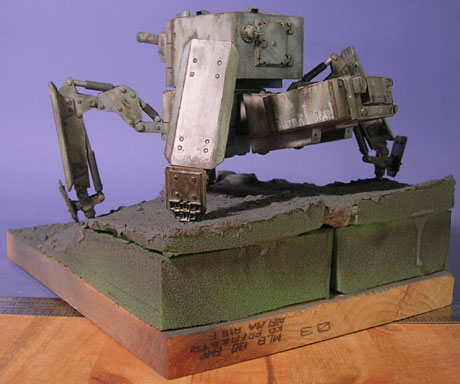
I had already started the groundwork for my KV-X2 when Maschinen Kreuger posted his great tutorial on making groundwork with textured gel medium and trees. I loved his tutorial and ended up integrating some of his techniques into this build. I made some changes such as starting with Celluclay (I bought a HUGE brick of it a while back and need to use it up eventually) which he really dislikes. Anyway, this tutorial is not to step on his toes, but to show his methods used a slightly different way for those of us using Celluclay.
Start by finding a good supporting base to work on such as a finished wooded plaque, scrap wood to be later finished with a basswood outer wall , or as in this example the bottom of an Italian Ice container. If you’ll be creating a sloped or tiered/stepped surface, create that first using foam, wood, balls of foil or whatever. The idea it to try and get as much of the basic shape down BEFORE applying the Celluclay since you’ll want to apply the Celluclay as thin as possible.
To mix your Celluclay for groundwork, start by throwing out the instructions. We’ll be mixing in a few things and using less water. First take a clump of dry Celluclay from the bag and place it into a container. Next drizzle some white glue on top of that like icing on a cinnamon roll. The glue will help it stick to the base better and help prevent warpage later. Next get a cup of water and mix in a little dish soap. Add just enough water to the mix to make it clay like. Less water will help it dry faster which in turn will prevent warpage later.
Once mixed, apply in as thin as possible onto your base. Try to apply it no thicker than 5-10mm. Use wet fingers to smooth it as flat as possible. The Celluclay will still go on lumpy which is desirable, but you want to avoid peaks. Now sprinkle the surface with small rocks and grit (sand, crushed talus) and press it in with wet fingers. Now take a 1″ paintbrush and wet it. Stipple the surface of the groundwork creating a pocked texture and further blending in the rocks and grit. This works the celluclay into the base and helps in drying. Place in a warm spot or in front of a fan to dry. The faster it dries, the less likely it’ll warp or crack.
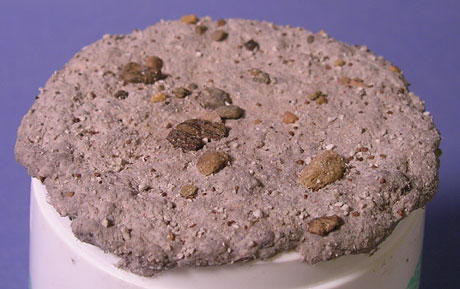
Next up we prime the base. I used a dark gray Krylon primer.
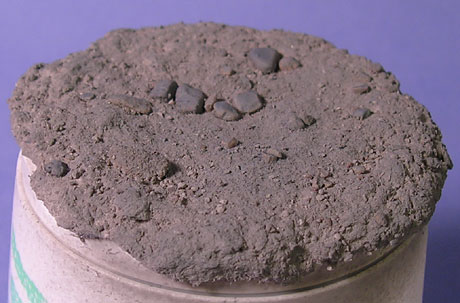
When the primer is cured, airbrush the base with Polyscale Dirt paint thinned with a little water.
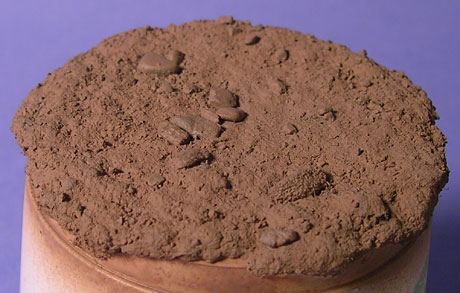
Now we take some acrylics and paint some of the rocks in various grays.
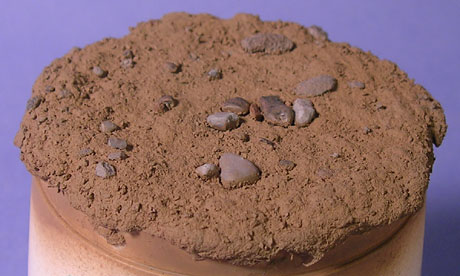
Then again we give it a spray of the Polyscale Dirt. Spray in very thinly just to tie in the rocks with the groundcolor. Rocks are dirty afterall!
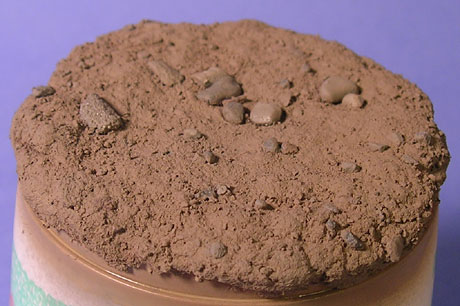
After that is dry I dusted the surface with some MIG Pigment > Russian Earth. This darker color is to help simulate wet soil. If your soil is to be dry or even sandy, lighter pigments can be used.
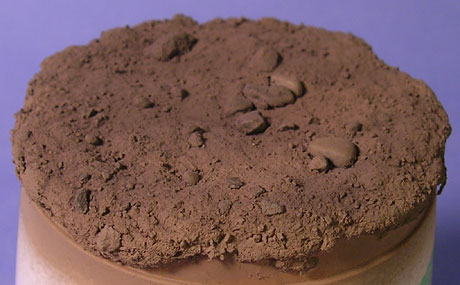
Now we drill a small hole and glue in some dried dead roots from the backyard or dead dried plants. This is to simulate leafless brush.
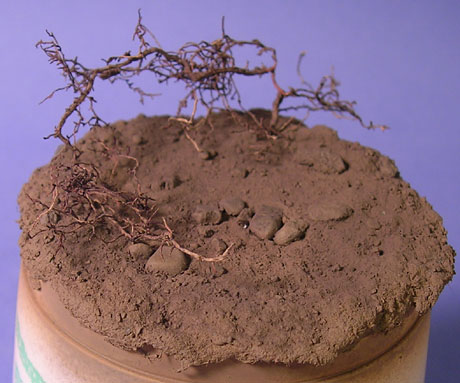
Next we apply some grass made from Yute (Jute) twine. My next entry will be on creating grass with this material.

To help make the soil look moist and to add a little more variance in the tones I thinned some black oil paint and worked it into the visible dirt which was first wet with a little thinner. Blend this in good and apply it randomly. Note the difference between the above and below images.
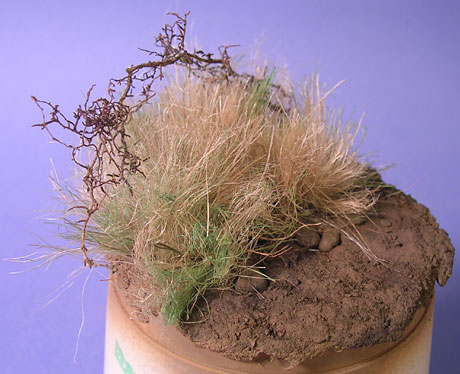
Now we can stop here OR we can continue and apply some light snow. Let’s do a little snow! First take some Prepared Matte Medium(matte medium thinned with water) and airbrush it all over the top of your base. You want to spray straight down (impossible so tilt you base instead!) and get it damp. Don’t overdo it and soak it. Immediately sift a little baking soda (sodium bicarbonate) straight down over the damp surface and let dry completely. You’ll want snow on the top of the brush, but not clinging to the underside. That’s unnatural! For a light, windblown snow sift unevenly over the surface. This will let some of your earth show through.
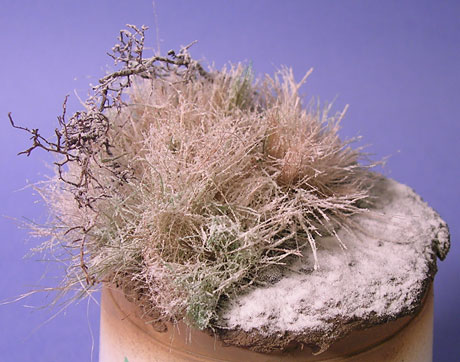
Once dry, tip it upside down and tap off the excess powder. I didn’t like how much snow gathered on the grass. I wanted it to look a little more windswept and moving/blown grass wouldn’t collect much snow. So I took a brush and brushed around the grass to dust off the excess powder. To create the footprints I took a damp brush and swept it away in the footprint shapes.

This can be modified and further combined with Maschinen Kreuger and other techniques. Check the Help > Dioramas section of my forum for more! Below is the base for my KV-X2 done up to the point right before applying snow. Once I apply snow, I’ll add an image to this post.


![Maude [Cyborg Action-Doll] (Files Only)](https://fichtenfoo.net/blog/wp-content/uploads/2023/01/Maude-Promos-300x300.jpg)


