Your cart is currently empty!
In Progress » Dagobah Diorama » Painting, Decaling and Weathering the X-Wing
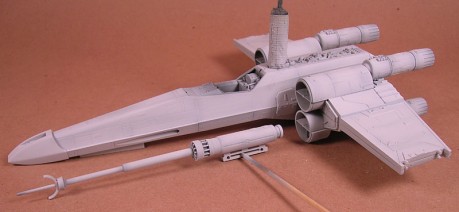
I’ve been working on painting the X-Wing for a few weeks now while working on other projects, but decided to save up images to make a decent-lengthed post about it. First I primed the X-Wing with Duplicolor Sandable Primer and then smoothed it out with some steel wool. This takes care of any scratches or primer texture. Then I applied dark gray along the panel lines as a pre-shade and followed up with a coat of VERY light gray.
Next I applied a gloss coat of Future Floor Acrylic and after letting that cure a few days I started applying the decals. The first decal I applied too much decal solvent too making it crinkle more than it should have. This eventually flattened back out but had a few “micro-crinkles”. I’ve since lightly sanded these flat and when I do the red discoloration/modulation will repair this error.
The rest of the decals went on without a hitch. Notmally I wouldn’t consider using decals instead of masking and painting for the red and yellow markings, but I didn’t think I could get as precise as these were. Besides at the point I’m at now they don’t look like decals anymore and when I’m done they should look painted on. After the decals I masked and painted the canopy with Tamiya XF Light Blue with a hint of German Gray. I have a little clean-up to do on the masking, but again, that’ll be fixed during the modulation/discoloration process. The interior of the canopy I airbrushed Tamiya Smoke into to tint it darker. This helps with the weathered window look I’ll need.
After the canopy was painted I airbrushed on a satin coat for Future Floor Acrylic and applied a few coats of Sin Industries filters to dirty-up the tones.
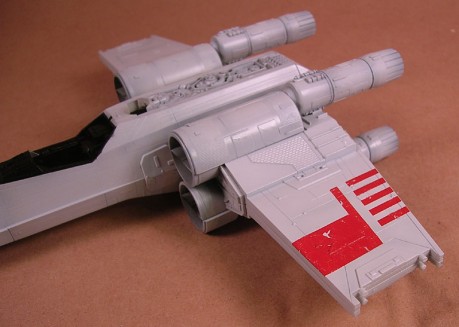
Once the filters dried it was time for the fun stuff which is the weathering and modulation. Modulation is the process of shading and highlighting for light effects as well as bringing out panel details. In this first image you can see the difference between the unweathered and weathered sides of the wings. To do this I applied slightly thinned 502 Abteilung oil paints around panels and inside of crevases. These were blended into the surface then buffed away with paper towel. This leaves the raised surfaces highlighted and dirties up the recesses. I think this is working far better than any wash I could had done. I used Dark Mud, Industrial Earth, Faded Gray, Shadow Brown and Black. I also added a little Dark Rust and Faded Navy Blue here and there on the thrusters.
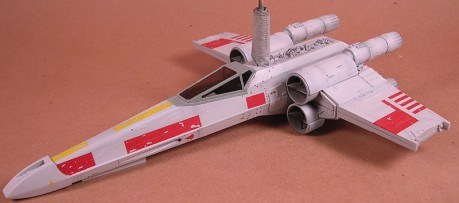
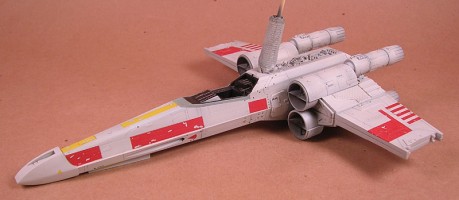
After that I applied more dark or white oils on various panels to differentiate them from their neighbors. This adds more visual interest to the flat wings. After the earthy tones dry I’ll apply the modulation to the red and yellow parts. I don’t want to do these first and risk blending the red into the white parts and having a pink X-wing. I’ll also be applying more weathering later with discoloration, pigments and more. Here’s what it looks like right now. I still need to do the laser barrels and the rest of the X-wing from the cockpit forward. I want to let the rear dry first so that I can hold it without rubbing the oils away.
Also my client was concerned about the amount of space on the base for the X-Wing. I took these quick shots to show him. The figure is a random maintence guy from a 1/48 aircraft kit just as a stand-in for Luke.


![Maude [Cyborg Action-Doll] (Files Only)](https://fichtenfoo.net/blog/wp-content/uploads/2023/01/Maude-Promos-300x300.jpg)


