Your cart is currently empty!
In Progress » Industria Mechanika’s 1/48 Orb Ship by Scott Robertson » Groundwork
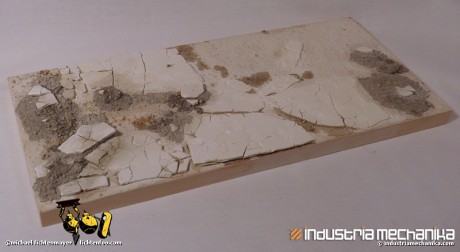
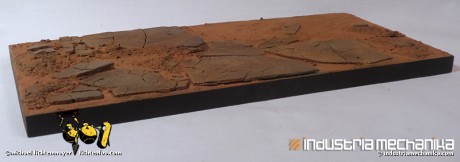
Nothing on the Orb Ship today since it’s still drying. I want to make sure that the panel discoloration is completely cured before moving on to streaks. This gave me a good chance to start and finish the Martian base though. Lots of steps here I think so bear with me. Let’s start at the beginning though and show the plaster/celluclay base I started with.
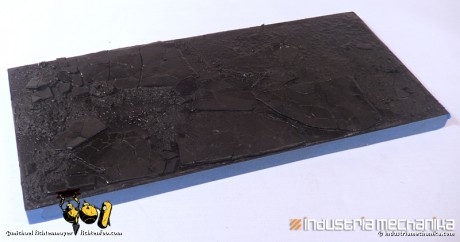
Next I sprayed the entire piece with flat black cheap-o spray paint. I noticed that parts where I used superglue (the darker spots on the above starter image) were remaining glossy while the “unsealed” plaster and celluclay was sucking up paint like a fiend, so I let it dry completely, masked the sidewalls with blue tape then brushed on a layer of Future Floor Acrylic to seal it.
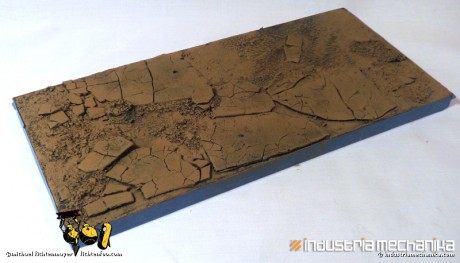
Next I drybrushed on some craft acrylics (Apple Barrel, Americana, etc…). I started with a warm dirt color as shown.
I did several more layers of drybrushing moving to a more yellow-orange dirt color. Then I made a wash of that color and applied it to the entire base, using a sponge to even out the brush-strokes. This got the sandy coloring into the crevases and mottled the paint so it wasn’t so even. Then I used gray and black paint to pick out the slate and piles of rocks. When dry I did one more layer of the yellow-orange dirt color.
Next was meant to be the final step, but it didn’t look right… I mixed some Martian colored pigments (Mostly MIG African Earth as their “Martian Dust” pigment is too… red) with alcohol and put the mixture in my sonic cleaner to thoroughly mix it and keep it from settling while I airbrushed small amounts of it over the surface. The end result obscured the rocks too much I think and was too orange as compared to the reference.
I went back and picked out the rocks more, mixed some European Dust and Beach Sand pigments into the mix and resprayed again, this time not as heavily. The result was much better, but the rocks looked too uniform still.
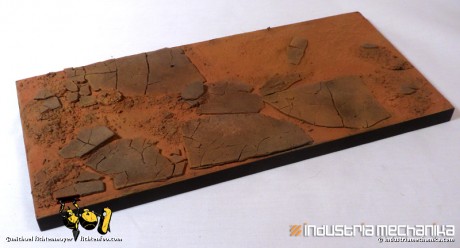
Lastly I went back and applied some light washes to some of the rocks to highlight them. I then sponged over them with some of the pigment wash thinned further with water. The end result is more like what I wanted… got a nice rich red-brown base with lots of variations in the tones so it’s not all one color and bland.
The photos are making it look more orange than it really is, but I’m happy with the result.





![Maude [Cyborg Action-Doll] (Files Only)](https://fichtenfoo.net/blog/wp-content/uploads/2023/01/Maude-Promos-300x300.jpg)


