Your cart is currently empty!
In Progress » The Hornethopter
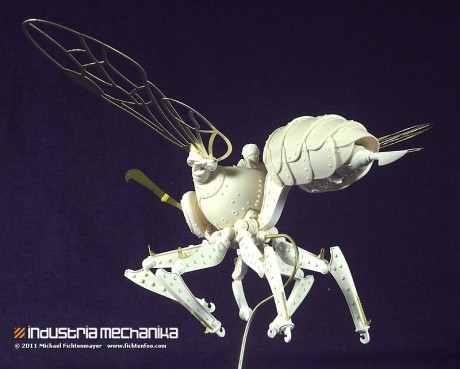
I received my initial copy of the Hornethopter this week and went right to work building it. Everything looks great cast-wise and once together with the photoetch, it’s a great-size and pretty impressive! I still have almost 20 copies left unreserved and have started taking payments from those of you that did reserve the kit so please check your inboxes and spam-boxes just in case.
I have several schemes in mind to paint these, but decided to do my “green hornet” first. For this one I’m layering buffable Mr. Metal Color’s Copper, Dark Iron, and Bronze. This is to get different variations of color to break-up panels and give the paint-work more depth. I’ll be doing the trim in Brass so that you get some thin yellowish stripes on the thorax.
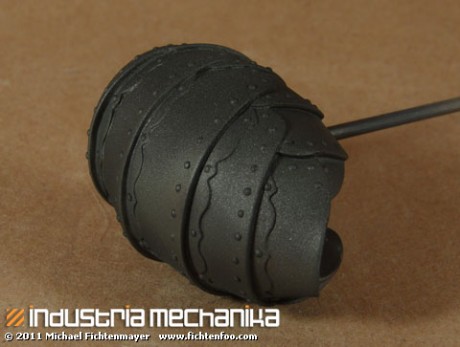
First I primed the kit in dark gray Duplicolor automotive primer. Once cured I applied a random coat of the Mr. Metal Color Copper.
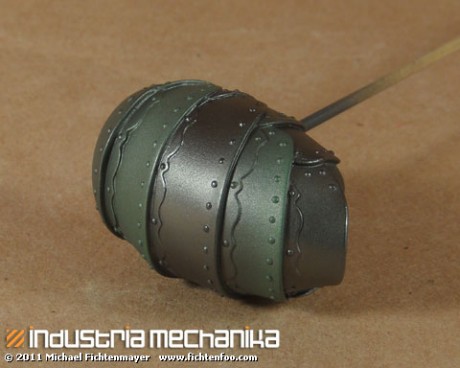
I followed this with mottled layers of Mr. Metal Color Dark Iron and the greenish Bronze color.
You can take a toothbrush and soft piece of t-shirt at any point after the paint dries and start buffing these paints to a very nice metal shine.
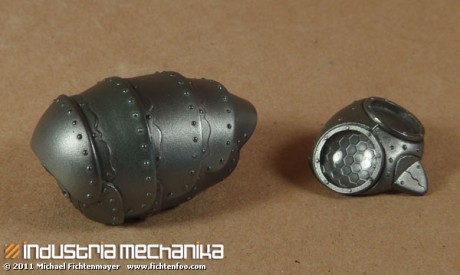
Once buffed, I used some Tamiya tape and masked off the first areas I wanted “greener”. I sprayed them with the Bronze and removed the masking. You can see the difference here between the buffed and unbuffed paint.
Repeat the masking and painting and buff inbetween. Like I said, the trim will be in brass so I’ll be starting that soon. I also started the figures now as they’re painted in oil-paint and that takes a LONG time to dry. Here’s more progress images.


![Maude [Cyborg Action-Doll] (Files Only)](https://fichtenfoo.net/blog/wp-content/uploads/2023/01/Maude-Promos-300x300.jpg)


