Your cart is currently empty!
In Progress » Shadow of the Minotaur » Painting With a Sponge
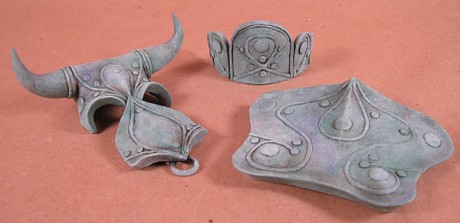
Everything was finished baking so I began priming and painting a few days ago. I primed everything with Duplicolor Light Gray Sandable Primer. Metal chains were first primed in Duplicolor Green self-etching primer, then in the Light Gray.
I gave a lot of thought to how I wanted to paint everything. Not just colors, but textures and methods as well. Would I airbrush first or hand-paint it all. Having lots of references really helped. I’ll split this update into painting the rocks and painting the bronze patina parts. I painted it all with craft acrylics from Michaels or JoAnn Fabrics. I used a combination of paints spanning several brands so I’ll probably focus on colors and technique rather than getting too specific.
Rocks »
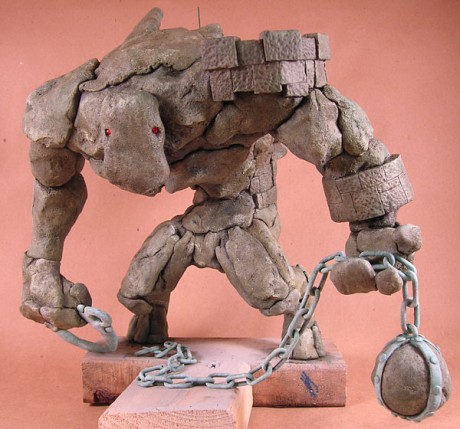
First I hand painted all the rocks with a thin dark gray mixture. Mostly this darkens all the primer, fills all the divets, cracks and details, and serves as a base-coat. When that dried I stippled all the recesses and areas I wished to be shaded with flat black. Again when dry I stippled it all with a sponge and unthinned “cobblestone” gray paint. After that dried I sponged on raw umber and chocolate brown here and there. Mostly this was for variation, but some rocks recieved more browns to make then be a different color. Then over that I stippled on a light gray and when dry more light gray, but in a random pattern to highlight certain areas. Remember that acrylics darken as they dry so it might look really light then be darker than you wanted. Wait for it to dry fully before lightening or darkening. After that I sponged on more browns where necessary and more highlight gray. Then everything was stippled/dry-sponged with a black-green mix. (dry-sponge… kind of like drybrushing, but smearing the color with an almost dry sponge) Then some pale lichen color was sponged on.
This looked like rock, but it was too neutral gray in color. I knew this would be the case and planned for some washes/filters to warm the color. This was done by mixing some very thin yellow/brown and applying it as a very thin wash over it all. Some areas received more or less to alter the color. Basically the key is to be random. If it’s too uniform it’ll look dull and lifeless.
Patina »
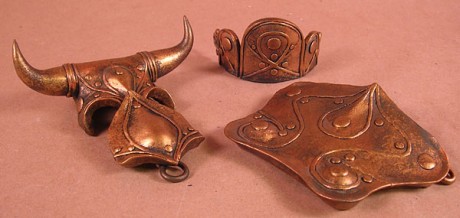
Now onto the bronze parts. In my prior post I showed an aged bronze shield that I was using for reference. I first painted all the metal parts with a thin black-brown. A few coats of this darkened it up nicely. Then I sponged on a “Pure Bronze” then a Venetian Gold which is a dark gold color… almost bronze. This as you can see is VERY shiny and bright.
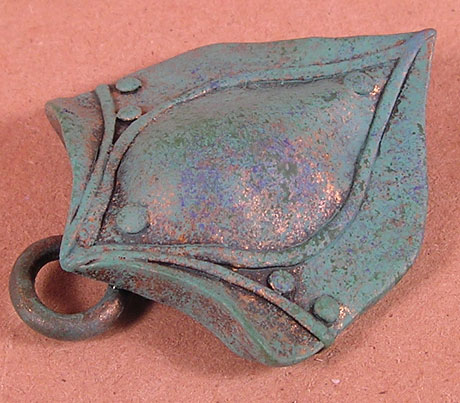
That’s fine though as it’ll get aged away really quick. Next mix up a green-blue patina color. Not too light yet! Split this into two and use half for a thin slurry wash. Dab this all over all the parts with a brush being aware not to deposit too much into recesses like a wash. Once this dries use the thicker mix and sponge it on randomly. Then sponge on in parts some dark blue-violet and dark green. It should look like below. Kinda crazy but the next step will tie it all together.
Now mix up your very light green-blue patina. Sponge this on and also drysponge it on as well. And that’s that! Aged patina bronze.
Here’s all the pics from this session. Next I’ll start adding grass, lichen and thick in-scale sheet mosses.


![Maude [Cyborg Action-Doll] (Files Only)](https://fichtenfoo.net/blog/wp-content/uploads/2023/01/Maude-Promos-300x300.jpg)


