Your cart is currently empty!
In Progress » Hoth Diorama » Snowspeeders » Weathering
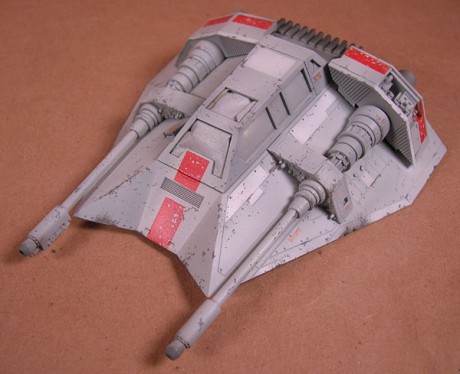
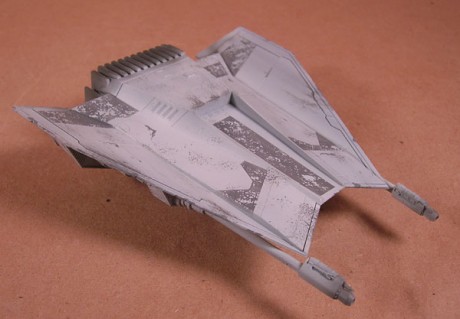
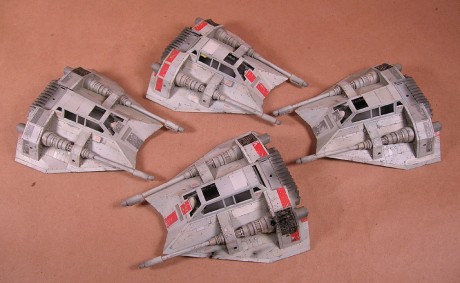
Here’s the latest on the build-up of the four Snowspeeders. First I airbrushed some German Gray onto the rear engine parts to darken them up as per the reference. Then I applied a clearcoat of Future and the decals. Those went on quite smoothly except that since I wasn’t using the kit-supplied stripe decals I needed to carefully cut out the orange boxes on the gray speeder on the sides of the air-breaks to remove the gray.Once the decals were done I applied a thin flat coat for the next steps.
I applied the paint chips using neutral gray with a very fine brush then afterwards added more with some sponge to get the finer masses of chips and scrapes.
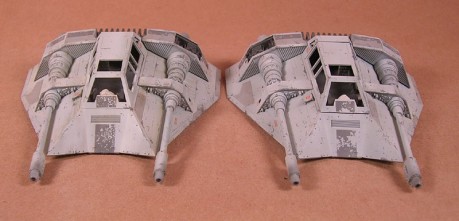
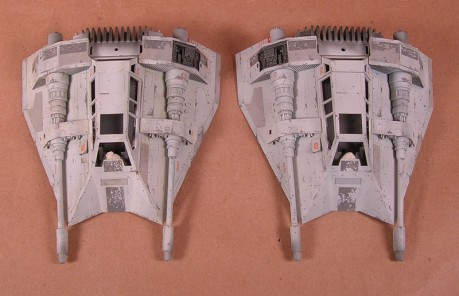
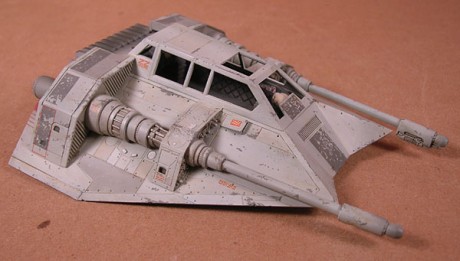
After the chips I added an warm buff colored filter in order to warm up the cool gray of the initial painting. After that I applied the discoloration with oil paints. This is done by adding small dabs of oil paint (I use and love the 502 Abteilung brand… very fine and smooth!) then blending them and streaking them with clean odorless turpenoid. For this I used Dark Mud, Navy Blue, Buff, and Dark Rust colors. Below you can see the difference between the discolored speeder (left) and the one with just a filter applied (right). Notice that it gives you subtle variations in the surface color making it appear more worn.
Once that dried overnight I went back and added more Dark Mud oils to the gun crevasses and engine parts. I also applied slightly thicker filters of either Dark Rust or Snow White 502 oils to further accentuate panels.
Next I’ll use some thinned 502 oils and apply a thin wash to just the panel lines. No need to get sloppy with a thick wash covering all the color variations. After that I’ll apply another flat coat and then do the soot-streaks, rust, and grime with Mig pigment powders.



![Maude [Cyborg Action-Doll] (Files Only)](https://fichtenfoo.net/blog/wp-content/uploads/2023/01/Maude-Promos-300x300.jpg)


