Your cart is currently empty!
In Progress » ‘Futuristic’ Prototype 01 Vincent
Years ago a fellow modeler friend of mine, Walter Pezzali, created a fantastic 1950’s looking robot kit master. (Vincent) I purchased one of the first and probably only casts of the time and while the design was great, the self-casting job was not. We decided to exchange it and try again later when he found a good caster. Now years later Walter is residing in Japan, has an updated master, another robot design (with more on the way), and a phenomenal casting company producing it making for a really nicely done and fun kit to build.His design has even been animated which is so cool!
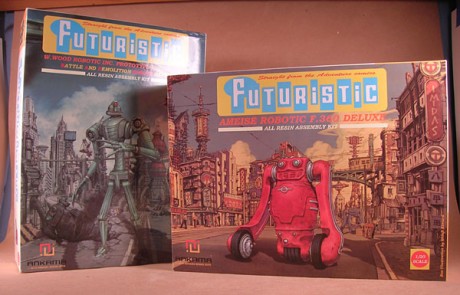
 I received both of Walters’ ‘Futuristic’ kits a few weeks ago and immediately put Vincent into the resin cleaner to start on him. He’s nicely cast by Ankama in a dark gray resin and comes in a box with what may be my favorite model kit box-art ever. I think this stuff is frame-able. There’s also decals and photoetch. I didn’t find any problems (bubbles, misalignment) in the parts and they cleaned up quite nicely.
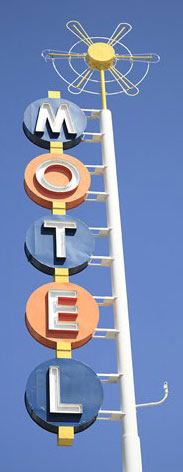
To keep with the cool retro 1950’s look I decided to make a neon motel sign such as one would find on the famous Route-66 back in the day. I did a lot of searching and downloaded a lot of reference, but as usual shelf-space won out over size and I decided to go with the smaller, simpler motel sign as seen in the photo.
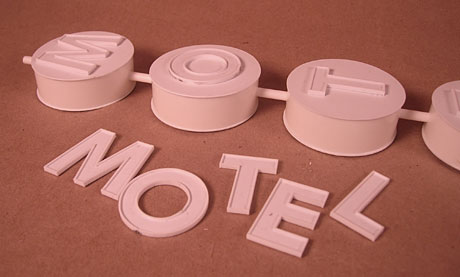
The sign was easy enough to make and will be an interesting and different set-piece when done. I started by printing out letter outlines on normal paper. These were cut out and taped over .040″ styrene sheet. I cut through the paper onto the styrene using a ruler and the printout as a guide. Once the paper was removed I could finish cutting based on the score lines in the plastic. Once the letters were cut-out I glued styrene strip around the outside edge to give them a nice lip. The main part of the sign was made using thin sliced of 1.5″ styrene tube with slightly larger styrene discs glued to the faces. More styrene rod and tube was used to create the post.
Vincent will be painted in a two-tone classic car combo of white and baby blue. He’s been around for a while at this point, perhaps just awakening from under a pile of scrap and is in pretty bad shape. A recent fight has left him with large gaping chest wound. To create that I thinned the inside walls of his chest parts, dipped them into boiling water and used various tools to “dent” him. Other dents were made using a dremmel and sandpaper.
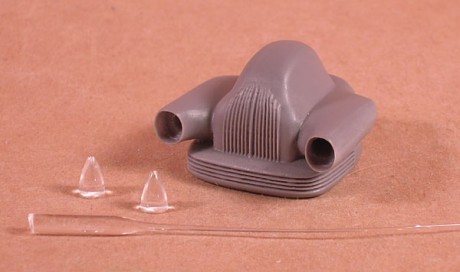
I made some replacement eyes for the two Futuristic “Vincent” heads. The originals were shaped like this but molded in the head with gray resin. These were made by spinning clear acrylic rod in my drill, shaped with a file and wet 400 grit sanding sticks, then smoothed with 400 and with 1200 grit wet sand paper and fin…ally polished up to a perfect shine with Tamiya Fine and Finish polishing compound on an old scrap of t-shirt. All while spinning the drill.
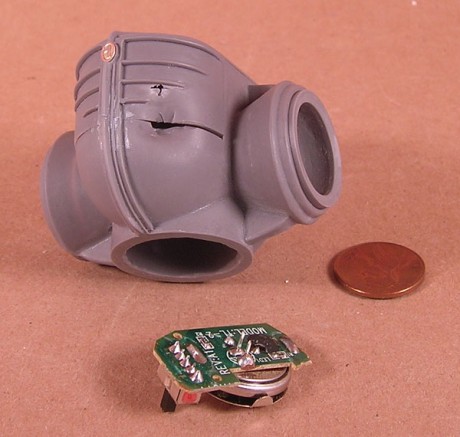
Lighting Vincent the way I want will not be as difficult as I assumed. I already hollowed out the 2-eye head and will put two 3mm red LEDs into it when they arrive. They’ll sit behind the “cone” eyes which will be painted in clear red. Wires will run through the neck into the dremmeled out chest cavity where a flickering LED tealight’s circuit-board/switch/battery will fit and connect to the head LEDs. The random flickering red eyes will add to the old/damaged look I’m going for.
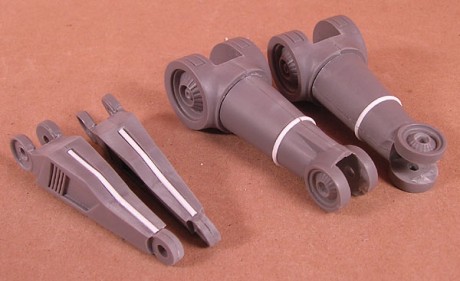
The only modifications I’ve made so far aside from drilling out to replace the joint-pins with styrene tube/eye-glass screws were to add some half-round strip on the rear of the calves and around the upper arms. These will be chrome.





![Maude [Cyborg Action-Doll] (Files Only)](https://fichtenfoo.net/blog/wp-content/uploads/2023/01/Maude-Promos-300x300.jpg)


