Your cart is currently empty!
In Progress » Fish Sub » Sealife Encrustation
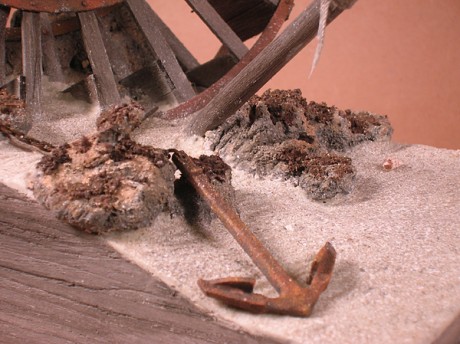
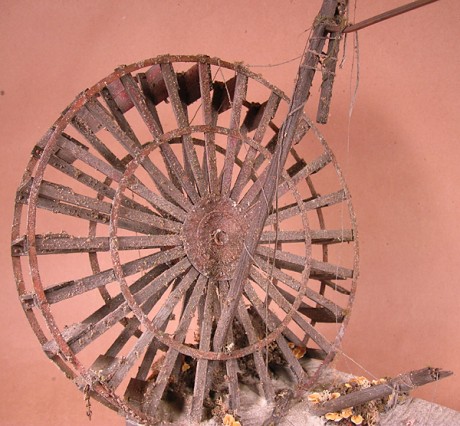
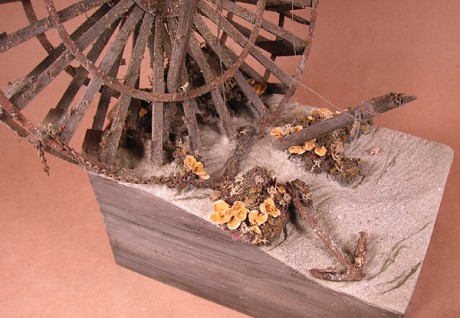
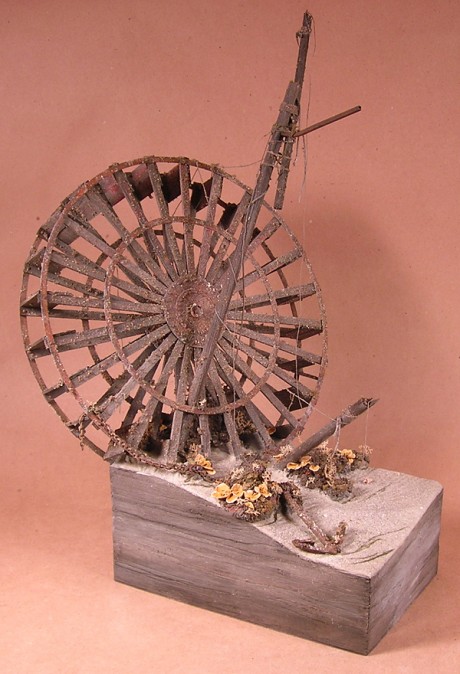
Once the plaster had dried for the paddlewheel, it was time to start the sand and sea-life. I molded the rippled sand on the base using Ave’s Apoxie sculpt. Ripples were added with various sculpting tools. The warm neutral color of the dried Ave’s was a perfect base for the sand so I did not need to prime it once it cured. Instead I used an old toothbrush and used it to flick paint from the bristles onto the sand to give it a speckled and varied appearance. I first speckled on some lightly thinned Tamiya German Gray, then Earth, and finally White. I’m very happy with the results and it gives it some texture without resorting to over-scaled grits. Then the Celluclay rocks were painted with washes of dark gray and brown.
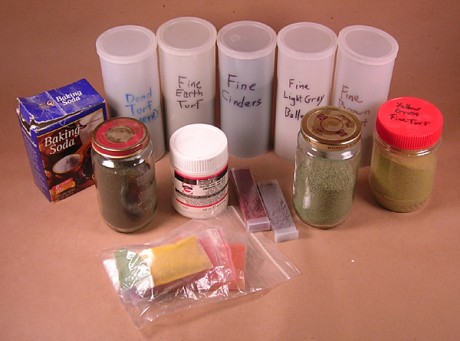
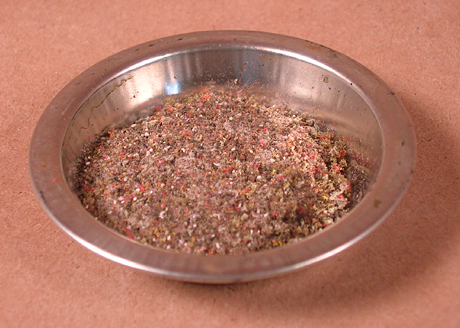
Once those had dried it was time to start applying the random sea-life reef growth over everything. First I made a nice pile of PLFH (pocket lint from HELL) using a plethora of scenery and modeling supplies. Here’s the a few pics instead of a list. As you can see it’s various turfs, grits and flocking.
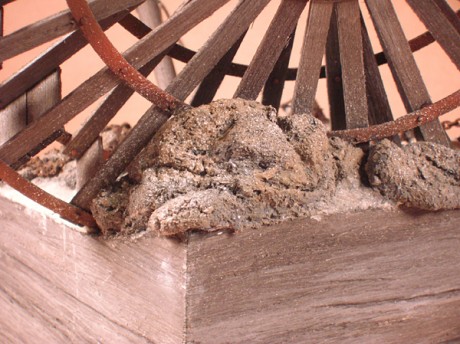
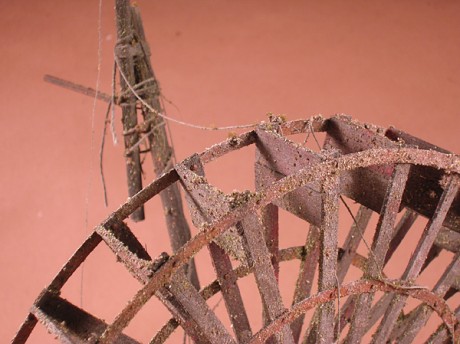
Mix the PLFH with some water and matte acrylic gel medium then add a touch of paint to tint. My first application was too brown due to too much paint. You’re going for more of a wash here.I applied most of it with tweezers and a small dental tool shaped like a teeny spoon. You’ll notice it clumps nicely when mixed, but should be slightly wet and seepy. Poke and fluff it a bit with the tweezers when applying to make it more dimensional. You can add more water and brush it onto other surfaces for a thinner application of growth like I did for the wheel. I also misted on thinned matte medium and sprinkled the PLFH onto it.
Once the PLFH dries, you can further color and tint it with diluted acrylics as well as sponging on a variety of colors to suit the look you need. My refs showed just about every color in the rainbow and the sponging on of purples, reds, and ambers looks really nice.
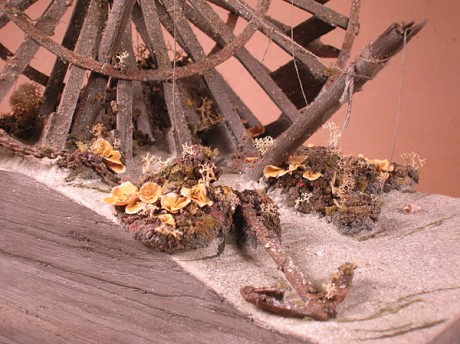
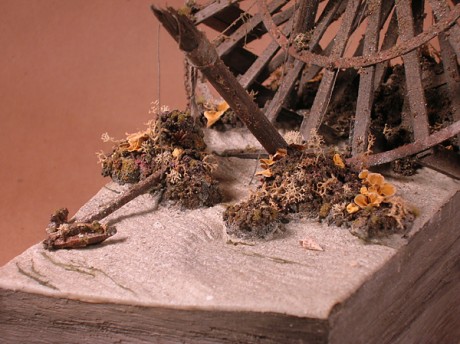
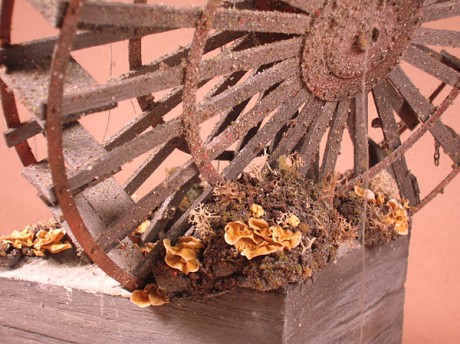
After even more drying, you can begin to apply other bits of corals and sea-growths. I have more to add, but here’s what I’ve added so far…
The golden growths are bits of toilet tissue which I punched out and dipped into a solution of acrylic paint + prepared matte medium. Use tweezers to pinch and apply. Check out the ref pic below to see what I was going for. Once these dry they’ll lighten. You can then apply more thinned paint to achieve the desired color. I brushed on some thinned white along the edges as well. The branchy corals are light colored lichen bits. I also applied small bits of colored sponge and “dead” colored coarse turf. White barnacle bits were made by mixing white acrylic with fine gray ballast and speckling it on with a toothbrush. Later I’ll add some photoetch coral and anemone I’m having made.



![Maude [Cyborg Action-Doll] (Files Only)](https://fichtenfoo.net/blog/wp-content/uploads/2023/01/Maude-Promos-300x300.jpg)


