Your cart is currently empty!
In Progress » BergeLuther » Mods and Painting Part 1
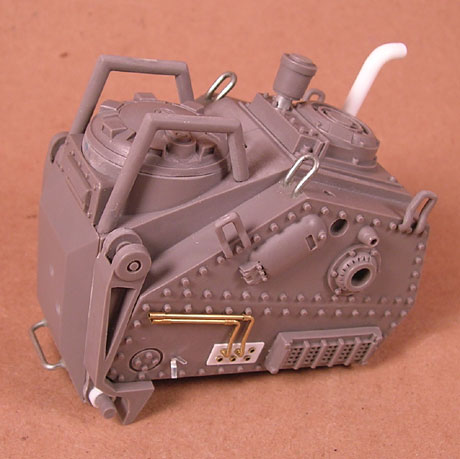
I’ve been pretty bust with the commissions and such so I need a mental health build badly! I had the BegreLuther resin kit cleaned of mold release and ready to go for months now so I figured it’d be an interesting and fun build. I started off by cutting and cleaning up the gates and mold lines. That went quickly as they were mostly placed well or non-existent. The kit was cast VERY nicely!There was not much clean-up at all on the main body.
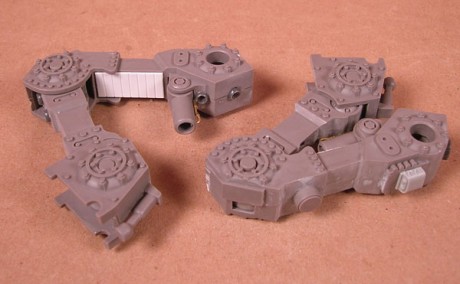
The potentially hard part was the legs which come in halves to incorporate the joint movement, however it was fairly simple. I used regular liquid super glue along the edges before joining the parts and that not only glued them together, but acted as a gap/seam filler as well. All I needed was a little Tamiya putty here and there and the legs went together very nicely.
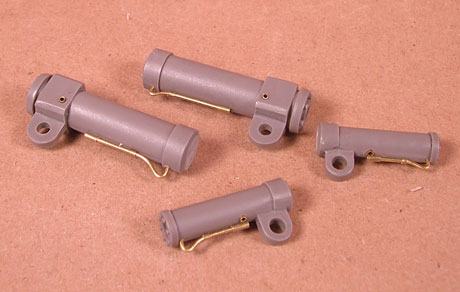
I read a lot of feedback from modelers on my KV-X2 kit and one of the comments that enlightened me the most was concerning the pistons and hydraulic lines. Since the BergeLuther has quite a few visible pistons I wanted to add the various pipes and hoses one would see on normal construction equipment hydraulics. Very small brass rod and tube was used to create the piping and later I’ll add black wire for the tubing. Luckily there are plenty of reference images available online for this.
Once construction was (easily) completed, I moved on to painting. First I primed the parts with dark gray Duplicolor primer. Once cured everything received a coat of a dark warm gray. That was mixed using Tamiya Acrylics Nato Brown, German Gray and Black.
Next I sprayed some Neutral Gray on parts of the shovel as this will help with the large rusty bare metalness later and light mottled random sprays of a rust mix over everything.
This is then followed up with a light thinned coat of Future to seal it all up before applying the hairspray.
Next I’ve sprayed all the parts with hairspray and sprinkled crushed kosher salt over the wet hairspray for additional chipping.
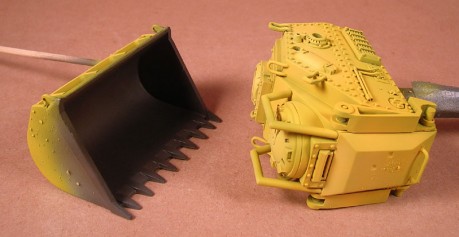
I forgot to photograph a few steps, but after the hairspray I sprayed the entire kit first with a very light gray as a base to brighten the yellow, then as seen below a nice construction yellow mix.
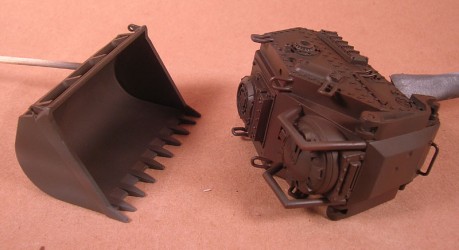
Then I let the yellow cure for an hour or so then begin the chipping. This is done by wetting the surface which loosens the hairspray and salt, Then with a soft brush and sharp plastic bits scrapes, chips and whatnot can be made. A great side effect of the hairspray over my rusty base (not sure if this happens to others) is that it mottles the base colors making a great realistic worn look. Note the differences of the inside of the shovel between the above pics and the pic below.
Next up is painting other colors then a clearcoat and decals.







![Maude [Cyborg Action-Doll] (Files Only)](https://fichtenfoo.net/blog/wp-content/uploads/2023/01/Maude-Promos-300x300.jpg)


