Your cart is currently empty!
In Progress » UC-Hardgraph M61A5 Main Battle Tank
 I’m in the mood for a tank and diorama and this has been burning a hole in my shelf since it arrived. It’s the 1/35 EFGF M61A5 Main Battle Tank “Semovente” Phantom Element from the realistic Gundam model series: U.C. Hard Graph.
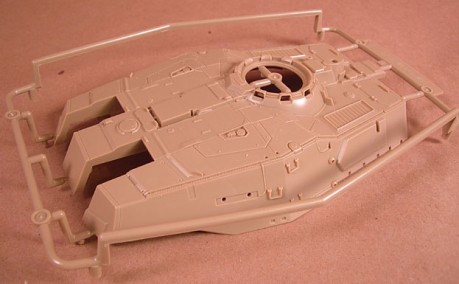
This is a really big tank to say the least. Compared to my KV-2, the KV-2 looks rather small and meek. Lots of fantastic details are molded into the design such as non-slip texture, panels, latches, etc. Several places allow for open hatches and the rear door could be very easily modified to hinge open with a single cut down the molded center door-seam. The drivers hatch is very interesting as it does not flip open, but rather swivels in a circle to open up. This is due to the low clearance of the twin cannon barrels.

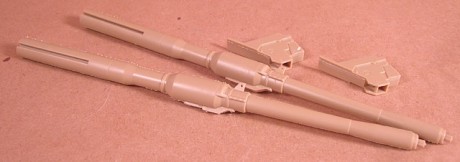
Speaking of barrels, the two barrels are two of only 5 parts that require seams to be dealt with. The other three are the front latches and the underside of the turret. All of these seams line up PERFECTLY with typical Bandai quality. Just snap them together and run some thin glue down the seams. Squeeze and you’re all set. Most of this kit still requires glue to put it together, but there’s a few snap-fit parts which IMO are in great places and really help line things up for gluing.
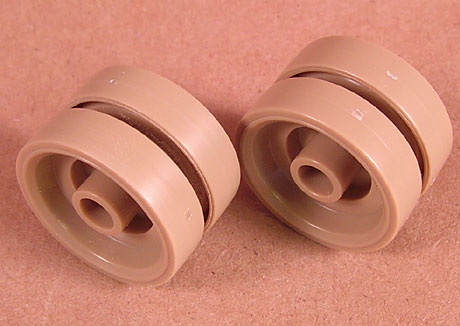
The road-wheels and suspension are fantastic. The suspension can be swiveled to allow this kit to sit on rough terrain without any modifications. The road wheels come in three parts each (2 halves and a polycap) and have that typical line of flash down the center that most armor kits tend to have. The easiest way to deal with is is to put the road wheels together then slide them on some brass rod in a drill. Choose brass rod that makes for a tight fit. Below you can see a youtube video of the clean-up process. It made the tedious process of cleaning up 24 road wheel halves into 12 very quick sanding sessions as seen below.
httpv://www.youtube.com/watch?v=LTuzqOdonKw

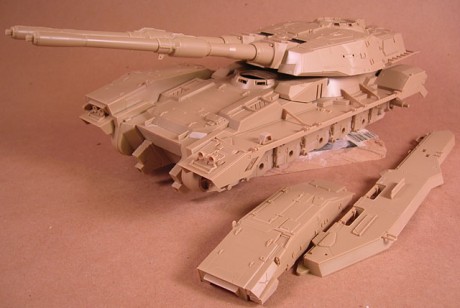
The kit can be constructed with the front/side covers on or off. Both look great, but I’m more partial to them being off and is probably how I will display mine. With them off there’s more room for stowage and you can see the treads and road wheels. Those places always look so great when weathered that it’s be a shame to hide them.
As of now the kit is constructed completely based on the instructions. I could prime and paint it and go from there, but I’m going to look it over some more and see if there’s anyplace worth modifying with leftover PE latches, stowage hooks and whatnot. I’ll be adding a pile of stowage to this thing as I often do. I just love the look of a lived-in, used AFV with lots of equipment hanging off of it. I’ll also be making this into a diorama utilizing the Gundam Arm set and making some factory ruins in the background.


![Maude [Cyborg Action-Doll] (Files Only)](https://fichtenfoo.net/blog/wp-content/uploads/2023/01/Maude-Promos-300x300.jpg)


