Your cart is currently empty!
Building My Spraybooth
Updated 5.23.2005
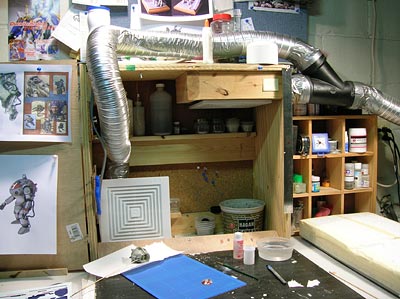
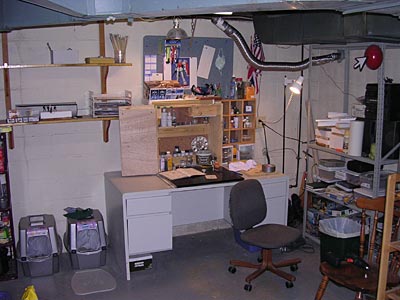
I added another fan and a “Y” connector to my spraybooth to improve it’s removal of the overspray. This fan I added right where my spray goes so that hopefully more of it will be removed as I spray.
Previous »
Today I finished most of my spraybooth. For those that don’t know, a spraybooth is a box of sorts with fan venting to the outside of your house. This will take the overspray, fumes, and dust out of your work area and your lungs. I forgot to buy the tubing to go outside, but I don’t know how much I’ll need yet, so it didn’t matter anyway.
I went to home depot this morning and made a purchase on a gift card I had recieved.
- Bathroom ceiling vent fan » $14.95
- 2’x4′ 1/4 inch plywood » $1.95
- 2 sets of hinges (4 each) » 2 @ $1.19
- Plug cord » $5.95
The wood I had left over from building my workbench.
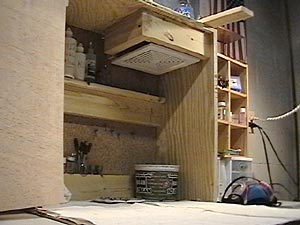
| Here is the finished spraybooth without the hoses. The fan does not have an on/off switch. I’ll have to plug/unplug it or use an extra surge strip with an on/off switch. | 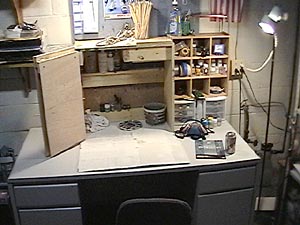 |
| This is a hinged overspray protector. I made it so that it could be folded away for more room when I’m not spraying. | 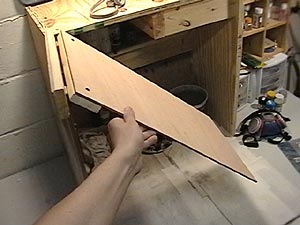 |
| Here it is unfolded. | 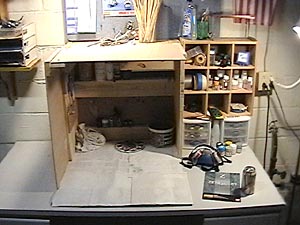 |
| This is the vent fan. Notice the wood sticking out above it. That’s to hold up the roof of my overspray cover. It spins back when not in use as well.
Inside the booth, I made thin shelves and placed extra corkboard since I can use all the storage I can muster in my small space. |
 |
| This is where the exhaust hose will be hooked up after we drill a hold and place a dryer type vent in. | 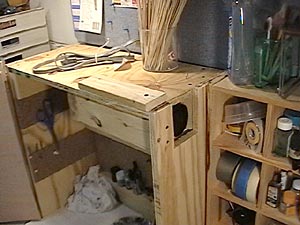 |
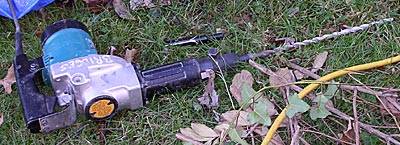 To make the hole for the dryer vent, my father-in-law (Doug) first used a rotary hammer, which is like a big concrete drill, to make a ring of holes. Kind like a dotted line. To make the hole for the dryer vent, my father-in-law (Doug) first used a rotary hammer, which is like a big concrete drill, to make a ring of holes. Kind like a dotted line.
|
|
| Next he hammered out the hole on both ends. Here is a shot of Doug hammering out the hole for the vent. |  |
| We used a 2 inch scrap piece of PVC pipe to fit through the hole. We didn’t want to weeken the foundation, so we needed something that would fit through the blocks natural holes. Then we duct taped an 8 foot flexible dryer tube to the inside PVC.
|
|
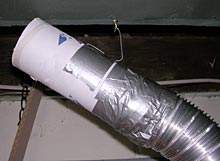
| I wanted the part that connects to the fan to be movable so that I can move the vent out of the way so I can still use my shelves. I found that a mailing tube that I had fit very snugly on the fan exhaust pipe. So I took that tube, cut it, and taped it to the other end of the dryer pipe.
I made a hook on top so that I could hang the suspended end from the ceiling to get it out of my way. |
 |
 |
|


![Maude [Cyborg Action-Doll] (Files Only)](https://fichtenfoo.net/blog/wp-content/uploads/2023/01/Maude-Promos-300x300.jpg)


