


Your cart is currently empty!
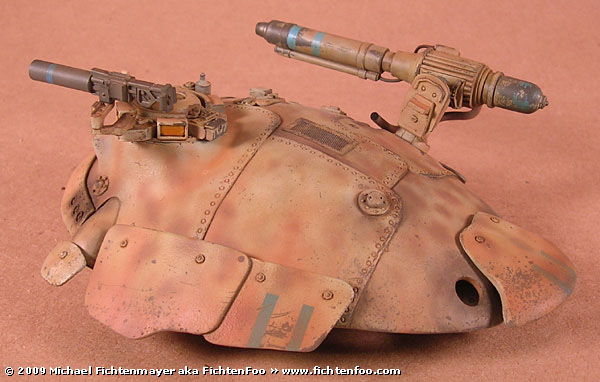
The Hover Tank is Now Available for Ordering!

The Hover Tank is up and ready to be ordered! Check out the Mig Productions International store here. US buyers should keep an eye out on the Mig USA store here. If you get it and build it, let me know! I’ll post an image up here on my site.


![Maude [Cyborg Action-Doll] (Files Only)](https://fichtenfoo.net/blog/wp-content/uploads/2023/01/Maude-Promos-300x300.jpg)


