


Your cart is currently empty!
Completed » Dagobah Diorama

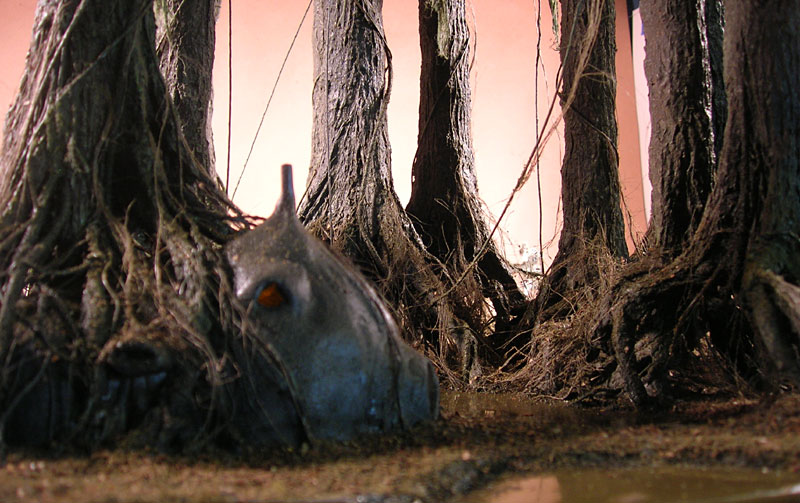
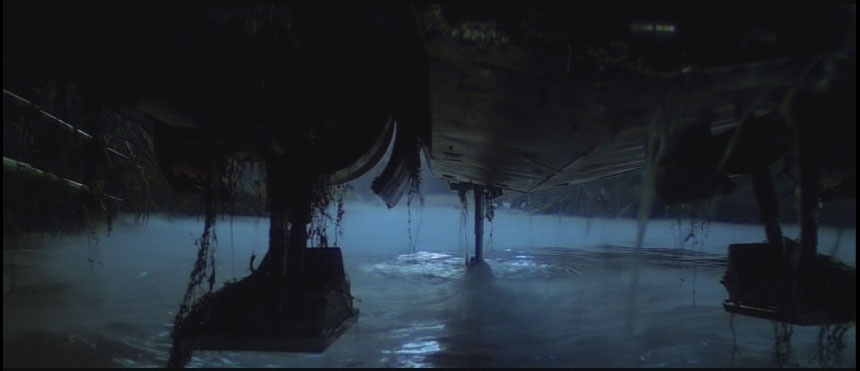
Well, it’s finally all done. Only 5 months of off-and-on work so not too bad. Now I just need to figure out shipping via an art shipping firm and pray that it arrives safely. Here’s the final images:


![Maude [Cyborg Action-Doll] (Files Only)](https://fichtenfoo.net/blog/wp-content/uploads/2023/01/Maude-Promos-300x300.jpg)


