


Your cart is currently empty!
Completed » Vincent [Futuristic]
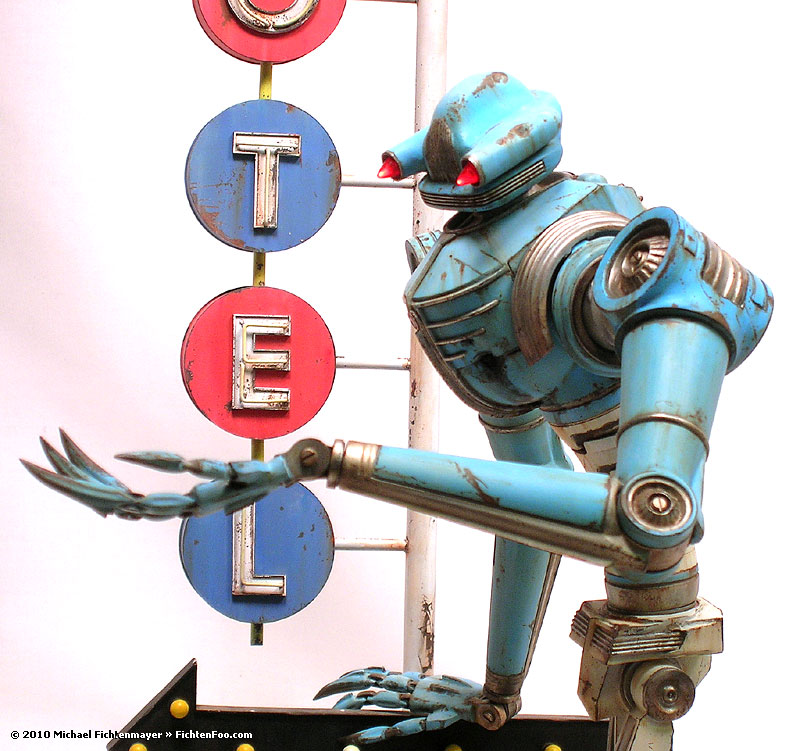
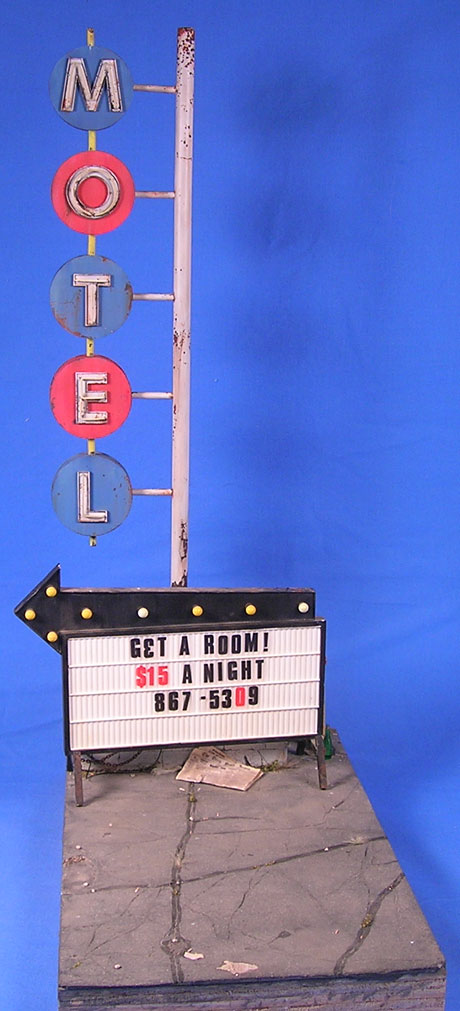
Here’s the final images of Vincent. I’d like to thank Walter Pezzali for this wonderful model and design. It’s really a fun kit with a lot of possibilities and I hope to see more builds of him by some of you soon. (Walter would like that too!) I shot a…


![Maude [Cyborg Action-Doll] (Files Only)](https://fichtenfoo.net/blog/wp-content/uploads/2023/01/Maude-Promos-300x300.jpg)


