


Your cart is currently empty!
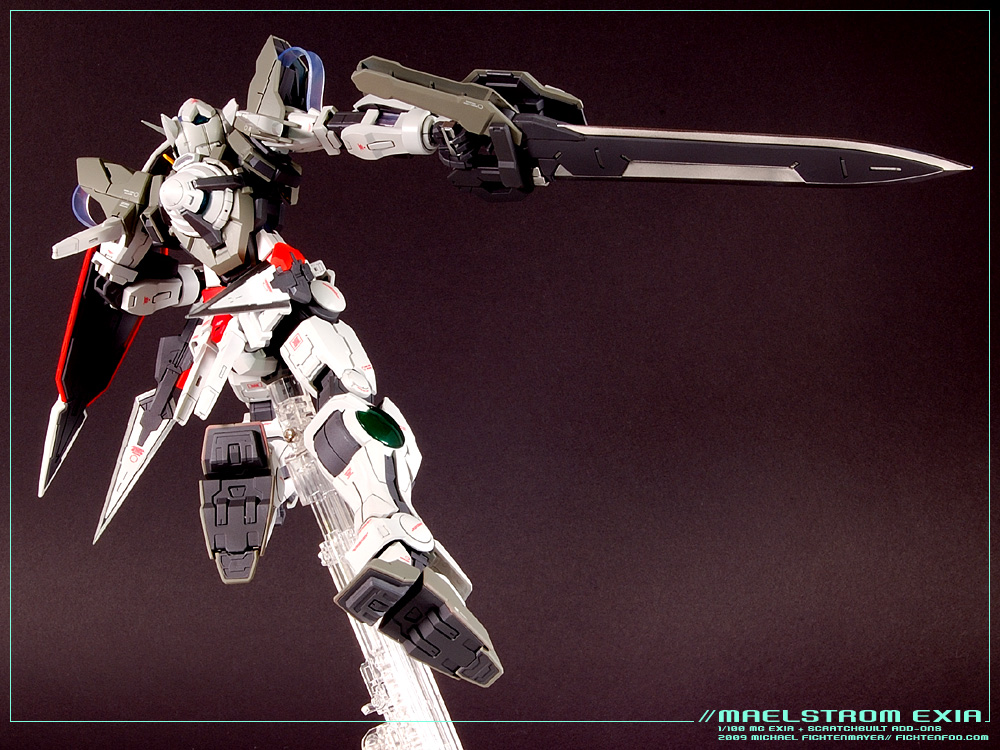
Completed » Maelstrom Exia (MG)

As soon as I was done with the Sinanju I started on this kit. The MG Exia as it turns out is a huge improvement over the already awesome 1/100 Exia kits. The way the parts are broken down makes for very little work as far as seams go.
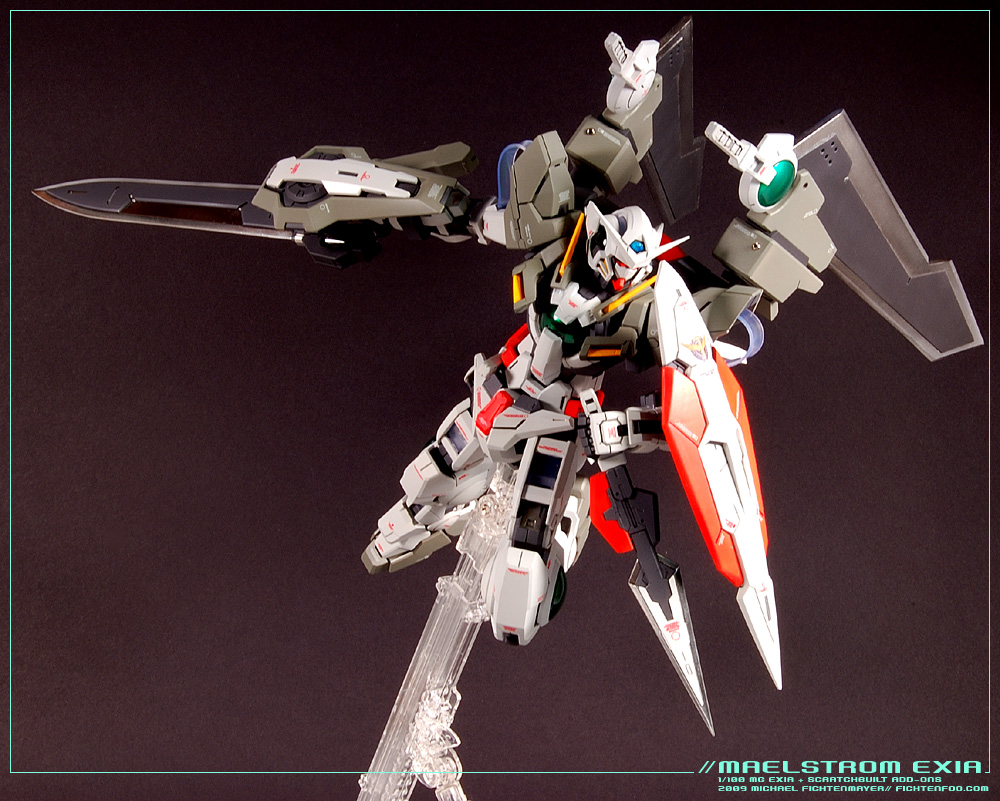
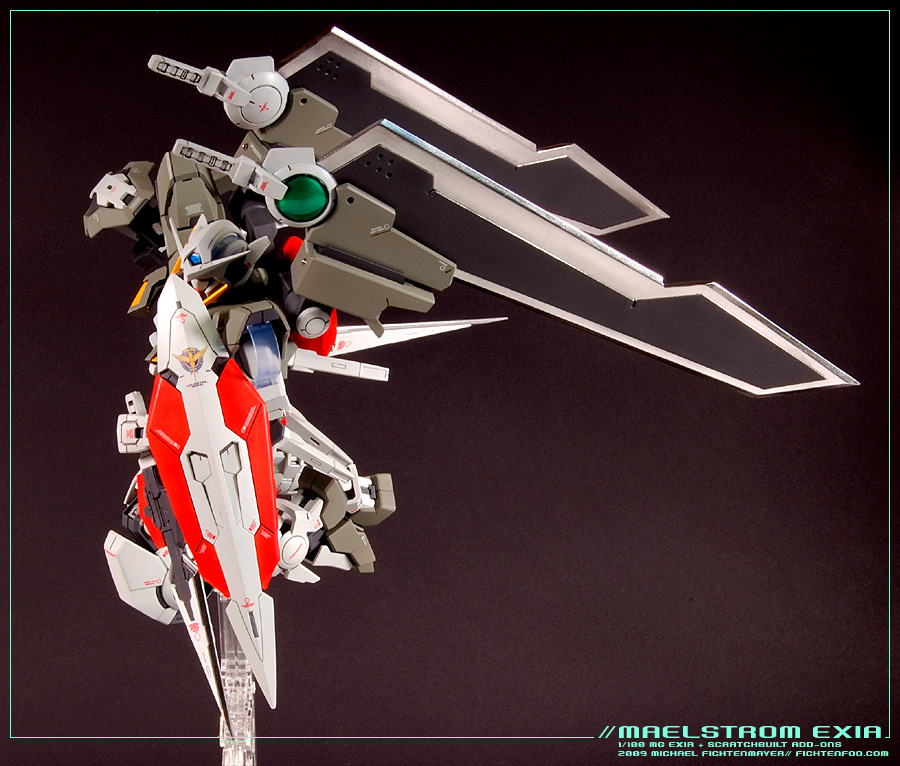
I wanted to do something to take the Exia ‘over the top’ in a way and to add a “particle accelerator” ring around the GN drive. A modeler at my forum, Shin0bu, had made some for his 1/144 00 and they looked great. With his permission I used that concept for this piece. The addition of really huge GN blades mounted to the GN condensors gives it a winged appearance. Almost Wing Gundam or Seed like actually. Not intended but not a bad look for this.

I designed the Accelerator ring in Illustrator and had a friend lathe the shape for me from Ren foam. The foam is kinda pourus so I had to give it 3-4 coats of Filler primer to smooth it out, but the end result looks nice and smooth. After that I scribed some panel lines into it and added the notches and bead-holes.
The GN Drive for the “Maelstrom Unit” (going with the “avalanche” naming theme for that) was a leftover from my 1/100 Astraea combined with the drive hole cover that came with the MG. Using that cover as the back of the other GN drive made a REALLY stable mounting point for this backpack. Once the latches lock it in place it’s as secure as can be.
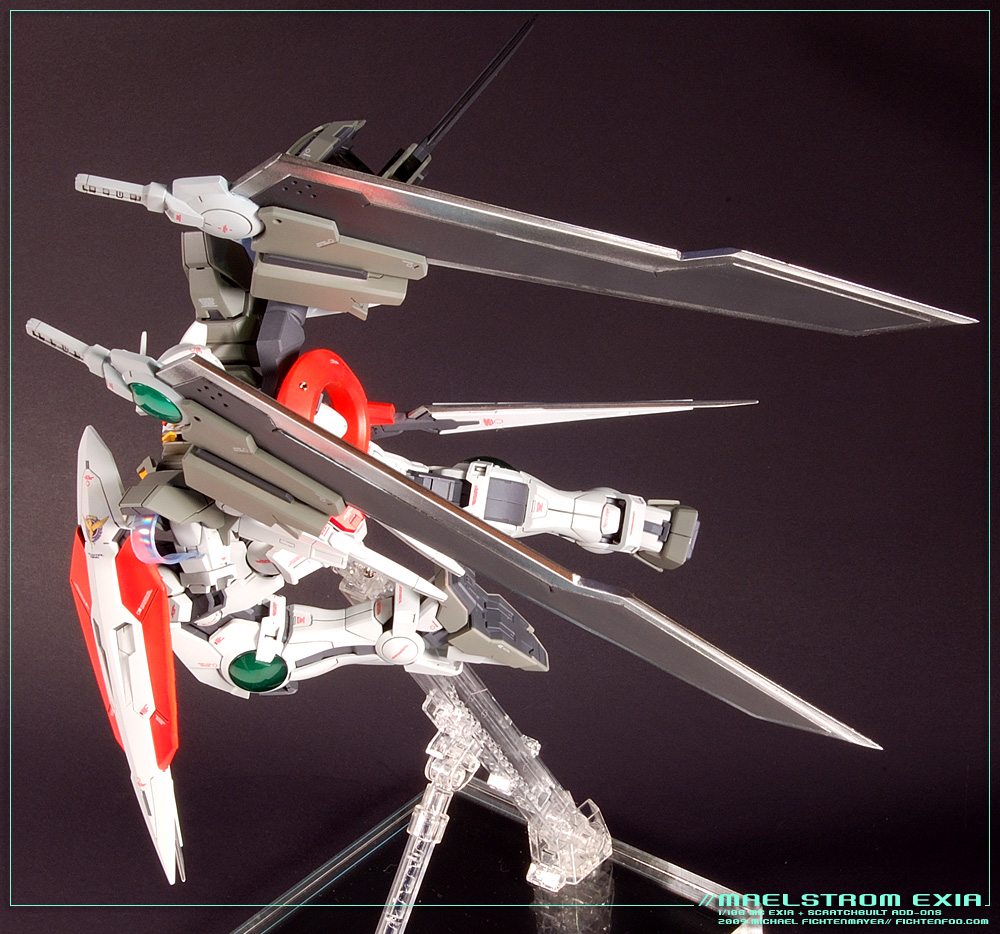
The swords were made from styrene sheet and shapes. To make the beveled edge of the blades easier to create I used Plastruct triangular styrene strip glued along the edge. That saved me the enormous headache of filing the edges to be evenly sharp.The hilt was made from extra 1/100 Exia leg and sword parts.

The GN condenser boxes were based on those on the rear of the Dynames. They were made from various styrene sheets and shapes. The small yellow wings are actually better-looking covers than the hooks they conceal beneath that hold the swords in place. Unfortunately the swords are way to big to allow me to pose them nicely with the model. I like them looking like wings better anyway.
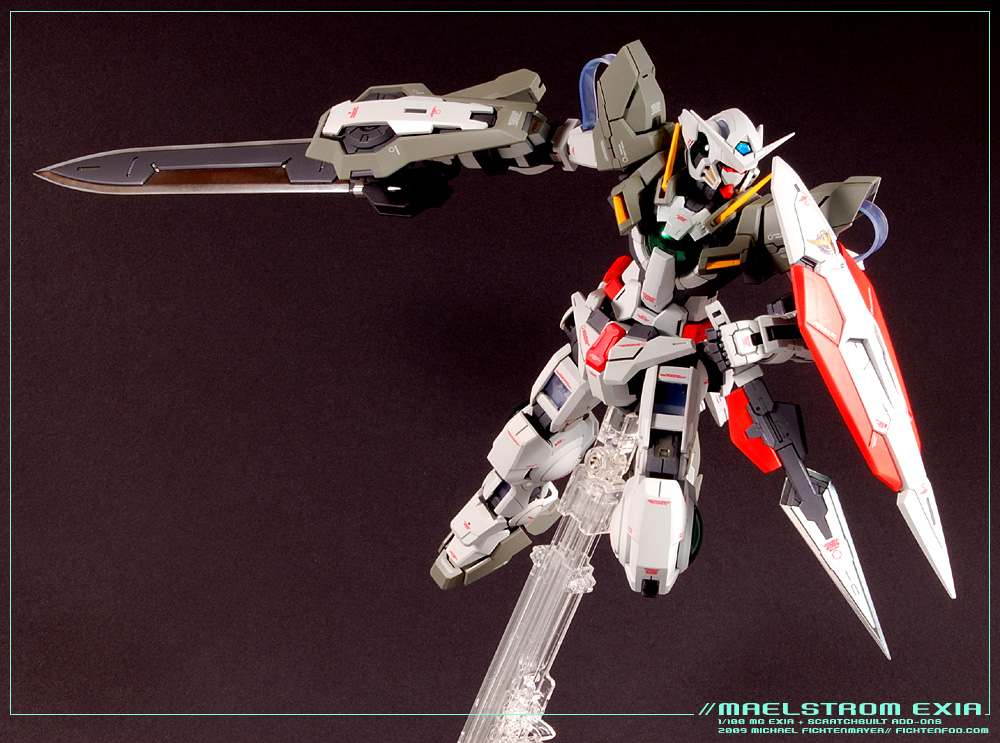
I wanted the paint scheme to denote the Rollout stage of the Exia during which it was probably put through its paces in various tests. The orange is Mr. Color Flourescent Orange mixed with a little Flourescent and Character Red. The blades are Alclad II chrome, the internals ar Mr. Color Iron, and the rest is mixes of Tamiya Acrylics. The base color isn’t white, but instead a very light gray. That photographs better and looks less vibrant and glaring in person.

For the clear parts I was stuck with green. No big deal, but I’d rather have had the option of making them bluish-green. THis I found out though can be achieved as I managed to get a great color-shift effect on some of the clear parts, most notably the GN-Drive and the eyes/forehead sensor. If you paint them with clear-green first then spray them with a Future Floor Acrylic + Blue pearl powder mix it looks very cool. When the light hits it it looks blue. This only works though is the pearl powders are not behind the clear green, but are instead in front. After painting I dipped the clear parts in Future which gives them a super shiny gloss.
Enough chatter… here’s the rest of the pics:


![Maude [Cyborg Action-Doll] (Files Only)](https://fichtenfoo.net/blog/wp-content/uploads/2023/01/Maude-Promos-300x300.jpg)


