Visual Design Portfolio
Narrow this list by the following categories:
Company Websites,
Flash Design,
WordPress Design,
Personal Websites
In Progress » BergeLuther » Discoloration and Burned Out Modern Car
Progress continues on the BergeLuther. I’ve applied the oil discoloration using the 502 Abteilung oils paints. This time I used the colors German Gray Highlight + Faded Navy Blue, Light Rust, Dark Mud and UN Faded White. These were dabbed on as usual then blended in with clean odorless turpenoid. Before this I attached a fuel barrel/mount, tools and extinguisher to the main body. The rust of the barrel mount was done with a rusty base coat followed up by sponging on lighter and darker rust tones. More pics below…
I also began work on the Mig Productions Burned Out Modern Car kit which arrived a few days ago. After cleaning the resin and constructing the wire seats using the supplied jig and a soldering iron, cleaning up the kit and painting has been a fun and relatively quick process. I used an SBS at the Mig forum by vsuarez666 seen here. It was a great tool for getting great results quickly. I’ve still a bit to go on it, but here’s where I’m at so far.
After priming the kit with self-etching primer I followed up with a coat of flat black spraypaint. Over that I sprayed a dark overall rust tone using the black base as shadows to show through, followed up by two lighter rust coats mottled on with my airbrush.
Over this base coat I used cheapie acrylics and stippled on yellow, brown, gray, blue and red with a damp sponge. This adds more color and variety to the rust and will add more depth in the next steps.
Over this stippled coat I sprayed a flat layer of FFA to seal the base coats. I let that cure overnight and the next day I sprayed the kit down with hairspray and generously sprinkled kosher and table salt over it.
After the hairspray dried I sprayed on some neutral gray, white, then a light mint color for that “classic” car feel.
I removed the salt by rubbing and with water and a brush removing some of the hairspray layer as well to re-expose the rust. Rubbing the salt off took some of the base coat with it resulting in some dark spots, but those actually add to the overall rustiness and look great IMO.
Then I took some rust-colored oils, some dark brown and some ocher and blended them into the surface to enhance the color. I then took some white and Faded German Gray which is a very light bluish color and enhanced the leftover paint spots of the vehicle.
Once this layer of oils dry I plan to go back with some grays and whites and dirty the car up as it’ll be sitting in a pile of building debris.
And speaking of debris, here’s the start of my base for the Berge. The Berge will be plowing some debris off a road and into an open crater. There will be corrugated steel, barrels, building rubble, the car, a fridge, chair and vacuum, girders, pipes, bricks and more. The base is foam and thin plywood for now, but all that will be covered. The exterior in basswood and the foam in Bondo, Celluclay, and a Sculpey road surface (made, but not pictured)
In Progress » Hoth Diorama » Anti Infantry Battery » Paint Sample
So I sent my turret off to a caster a few weeks ago. He decided to purchase the master and to produce it which is great because I got a bunch of copies for my use plus some trades which is nice. If you’re interested in a cast, contact Jimi Glancy. (bollod-at-sbcglobal.net)
I got my copies on Saturday morning and that night threw one into some ‘Purple Power’ to clean the mold release. They look great and with three parts, paint-up should be easy so I decided to see how quick I could paint one up. Here’s the process:
Saturday 9-27-2009:
Received the kits and threw them onto a bath of Purple Power. You can get it at Walmart. It’s an engine cleaner/degreaser and great for removing the mold release agent from resin parts.
Sunday 9-28-2009:
I removed the parts from the cleaner and scrubbed them down with an old toothbrush. I then did the minimal clean-up needed. A few small mold lines on the turret/gun and on the base of the base was all there was. Gave the turret two coats of primer. First was green Duplicolor Self-Etching then a coat of light gray Duplicolor filler primer. After that dried I buffed them with very fine steel wool to smooth out the filler primer.
After that I started on the base coat. This will be a multi-stage, multi-layered process so bear with me. I first sprayed it with Tamiya Light Sea Gray then I mottled some Deck Tan over that. Finally I did a post-shade of panel lines and shadow areas/damage with Tamiya Dark Gray. This was all later sealed with Future Floor Acrylic. It looks like an odd jungle camo, but this base coat will be mostly hidden by the next steps and serve to give a layered and used look.
Once the Future cured I gave the parts a few coats of hairspray and a sprinkling of crushed kosher salt over the still-wet hairspray. This will make for some interesting chipping effects through the whitewash when wet-down and chipped with small soft brushes and toothpicks.
Over the dried hairspray and salt I sprayed on thin coats of Tamiya Flat White. Allow some of the base-coat to show through. Make the top of the turret and other parts lighter to get a sunlight highlighted effect. Spray under the turret thinner to make false shadows.
Once the paint cures a bit… (I only waited about 20 minutes) take and dunk it in some water and use various brushes and such to remove the salt and to add more chipped paint. The hairspray loosens the top layer of paint with water allowing fo easy and realistic chips ranging from small faint scratches to huge blasted away areas.
At this point the contrast between the white and the base coat is pretty stark. I expected this and this allows for yet another layer to be added. All of these layers make for random variations leading to a more realistic end result. Over this spray another layer of white to blend in the chips until you’re satisfied with the look. Vary your obacity as usual to get a mottled realistic look.
At this point we’re ready for the actual weathering. While some might call this done, a few extra steps will really bring out the look and make something that’s plain white to be something that’s far more visually interesting. First I applied a Sin Industries filter (gray for white) then after a few hours of that drying I added some discoloration with oil paint. I used white, blue, dark rust and dark mud colors. After that I added more white oils over that to bring back the lightness that the discoloration and wash took away. Finally I added some rust streaks with oil paint. Here it is all done.
In Progress » Panzerkampfwandern 38(x) » Concept and Beginning
Now that the KV-2X is available I figured it was time to start my next X-Series walking tank. (’X’ for the shape the 4 legs makes from above) This time it’s a German model based on the German Panzer Kpfw.38(t) Ausf. G. This will be somewhat smaller than the KV-2X, but be full of detail. I decided to do the 38 because of the many riveted details on the surface. I thought that would make for an interesting piece. Plus it’s small size is fun as well. I can imagine a swarm of these things overunning the countryside.
Here’s the initial in-progs. I’m trying to improve upon the KV legs by adding a vertical swivel where it connects to the chassis to give it one more angle of articulation. I’m also using one less set of workable pistons per leg, although there remains additional piston detail under the main leg armor segments. I’m also trying to make this look more German-styled as opposed to the very general look of the KV. So far it’s just the main shapes, but soon I’ll be adding detail to the surfaces.
In Progress » Riddle Me This… » Initial Sculpting
I think I might be hooked on this Sculpey stuff. I love it… I can work as fast or as slow as I want and don’t have to wait for things to dry or cure. Just keep working it until satisfied… very fun and suits my short attention span for sure!
My next Sculpture project is another of Bat-Man’s nemesis’s (nemesi?), The Riddler. I’ve always liked this baddie. Maybe it’s the green and purple suit, the excessive use of question marks, or perhaps the Derby hat. Whatever it is, I’ve always found his look to be kinda cool. I also figured he’d be another good practice piece as my last two sculpts were misproportioned monsters. A clean and slightly more realistic figure would be quite the departure.
I had a picture in my head of him standing and contemplating his next move or devious scheme. One hand would be on his question mark cane, while the other holding his chin and in deep thought. So I made a quick sketch and armature and went to work. I also wanted him to be somewhat thinly proportioned. Long face and skinny body. Almost cartoonish.
I started out by sculpting the head seperately. At first I made it without the hat and with a normal hairline as I wanted to wait till later to make the hat, but have something proportioned correctly to work with. A half head would had threw me off there! Once mostly satisfied I mounted the head to the armature and becan sculpting a naked body just to get the proportions right. After that I started bulking it out with clothing. Here he is so far. Next is some clean-up and smoothing and after that I’ll start the hands. I think I might bake it first before making the hands just so that I can work with them easier in place without messing everything else up.
Shopping Website Design » Green Beginnings Gift Basket Company
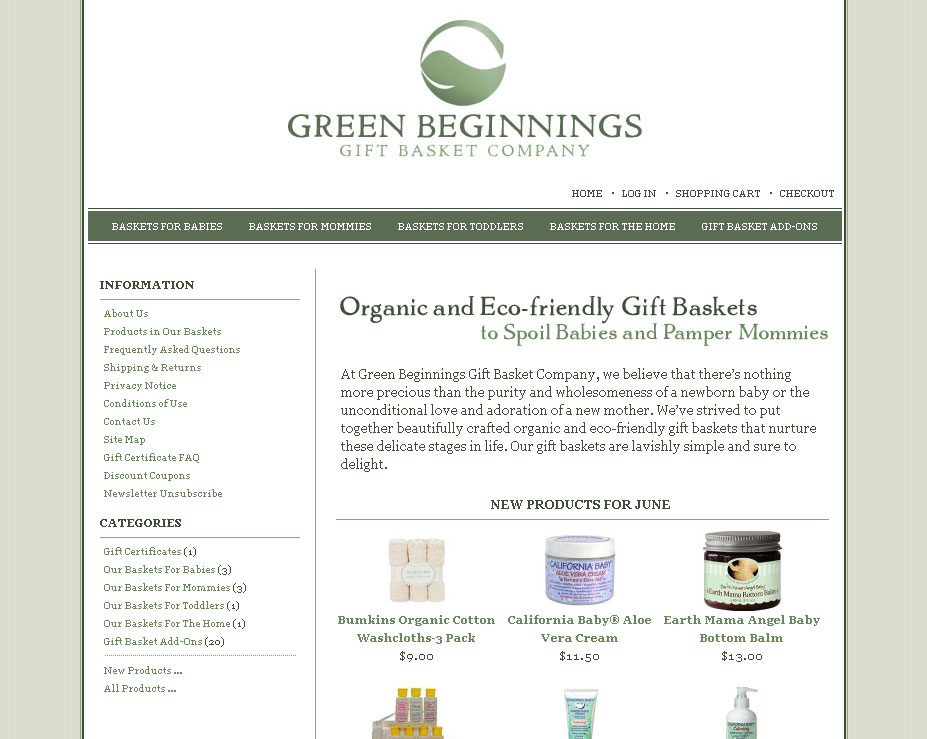
Green Beginnings Gift Basket Company (GBGBCo) needed an online storefront in order to sell their variety of “green”environmentally friendly gift baskets for infants, toddlers and mommies.
I chose the “Zen-Cart” open source store software to create the site as it was not only simple to design for to get them up and running quickly, but also very robust and full of all of the features they had requested. Plus being open-source, there is a plethora of tutorials and support available not only for me to develop the site, but for my clients to utilize and maintain it after I had completed it. GBGBCo also needed a logo in order to brand their website and basket tags and business cards. With the logo and site design, they wanted something that stood-out from other cookie-cutter shops, but had a simple, clean and high-end appearance. Click here to view the website of my very satisfied client and purchase some of their fantastic products. Visit Website »
Logo Design » Model Builders and Scale Model HQ
Below are a few logo designs I’ve done recently. With both designs I’ve added my origianl thumbnail ideas so that you can see the processes that went into creating the final look.
Model Builders
The first I did a while back for Model Builders, Marc Havican/FilmMkr’s website. He wanted something very 3D looking and glassy. After I sent him the initial designs we went on to create the final version by mixing a few designs together. The Logo was created as a vector file in Flash, but taken to Photoshop for the glassy effects.

![]()
Scale Model HQ
After seeing the Model Builders logo above, a friend of Mr. Havican’s contacted me regarding creating a logo for his website. He loved the glass look of Marc’s and wanted a similar finish. He already knew that he wanted the words formatted as seen below, scale above model and next to HQ, but the rest was up to me. I asked if he was interested in any imagery with the logo and he mentioned several modeling tools that he wouldn’t mind seeing. I sent him the thumbnails and he chose the one with the airbrush as the Q’s line. He wanted to see the HQ in a serif font though. So after a few more revisions with the font and colors, the logo was finalized as seen below. He (and his wife) were very happy with the result. While seen here over my background color, this logo will be placed over a black background I’m told as soon as his site is completed.

![]()
Interested in a logo design? Contact me for a quote!
Personal Website » Scale 1/20
Scale 1/20 is the Maschinen Krieger blog of Lin.K, a top-notch Ma.K modeler and friend of mine living in Japan.Lin.K needed a website to post news from the Ma.K world as well as show off his own creations. I created this design based on the box-design of the 1/20 Raptor model kit from Wave. After the design was approved I turned it into a WordPress theme and set everything up for him on the server. Since Lin.K isn’t a web designer, WordPress is the perfect tool to allow him to manage what should become a large website. View Site »
Personal Website » RmOS v1.0
A while back I promised to help a friend of mine, Matt Tomczek with his website. He was going to throw some ideas and art together and have me create a template for him to put all of his content into. Many months went by while waiting for him to have the time to do that. Last week I was playing around with some WordPress theme designs and showed him a retro computer based one I was working on. He loved the idea and asked if he could have it for his design with a few changes such as changing the main color from a blue-green to orange.
We decided that a WordPress-based site would be perfect for his needs and he came up with the title RmOS ver 1.0 (Robot modeling Operating System). WordPress is a blog-tool, but is very customizable in order to make it fantastic for almost anyones web needs. It allows the site owner to easily add and edit content without having to know much at all about web design. (Not that Matt doesn’t know his way around some HTML. ) Visit the site »
Forum Design » Mig Productions
Mig Productions is a company whos modeling products I use a lot and love. When I found out a few years back that they had a forum I joined up to learn from some of the best modelers in the world. That forum and their old hosting provider however didn’t work so well. Frequent crashes and errors made many users frustrated. I promoted my services to the owners and eventually they contracted me to find them a new host and improve their forum. I upgraded them to the latest version of PhpBB (version 3) and modified a theme to suit the style of the rest of their site. So far these past few months the site is working great and everyone is very happy. No more crashes and far less spambot sign-ups. I remain an admin and assist them with any forum related issues they need assistance with. View Site »
Free WordPress Theme » Saturn5
After doing quite a few WordPress sites with custom themes for friends and clients alike I now feel confident enough to make a few free themes for public release. My second is titled Saturn5 and is a funky, techy, Wip3out Pure design inspired theme. This theme makes use of transparent PNGs for some interesting semi-opaque effects on the background image of a Saturn V rocket engine.
Theme Download and Information
You may wish to customize this theme further so here is some information to help you accomplish that as well.
Download Saturn5 (saturn5.zip 797k)
Header Font: Bring Tha Noize
Screenshot:
Preview this blog using the Saturn5 theme »
Return to original FichtenFoo blog theme »
WordPress Theme Design Service:
Want a custom theme designed? Plans starting at $300! Click here for details.


Tired of expensive and slow web design services? Looking for quality design with a fast turnaround? Whether you need an all new design or updates to your existing site, I'll give you the same speed, professionalism, and attention to detail.


