


Your cart is currently empty!
Completed » Torptilian Crew

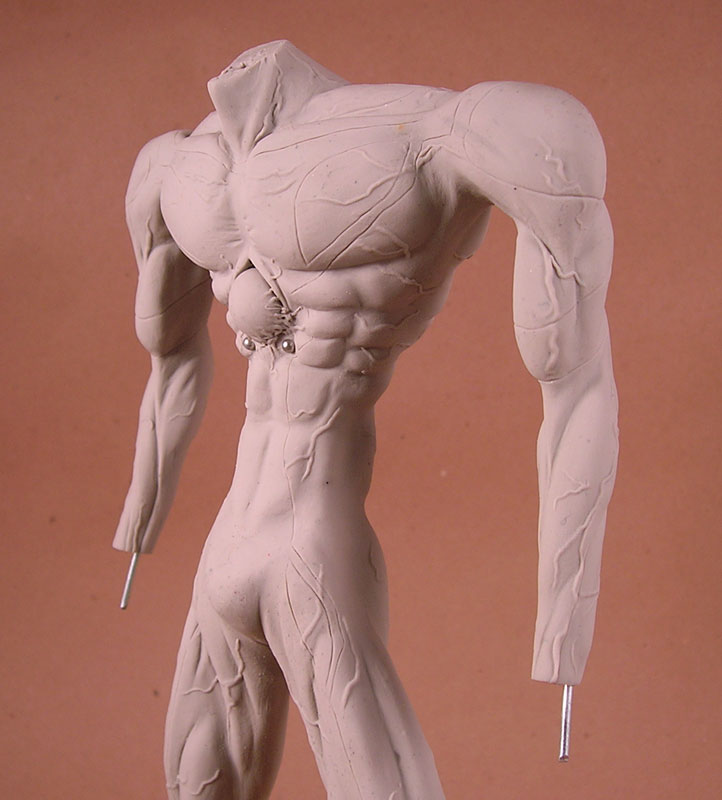
Purchase These Figures on my Etsy Shop! A few years ago I started making a 1/6 scale alien with really long arms as a one-off creation. Kind of reptilian, but there was issues with the sculpt and the eyes and I put it in a drawer to figure it out…


![Maude [Cyborg Action-Doll] (Files Only)](https://fichtenfoo.net/blog/wp-content/uploads/2023/01/Maude-Promos-300x300.jpg)


