


Your cart is currently empty!
Completed » Edmontosaurus

 The Edmontosaurus kit and base are completed as my non-entry into our forum’s Creature Feature contest. Since the last update chronicled the painting of the dino, this final update/galley will focus on the groundwork.
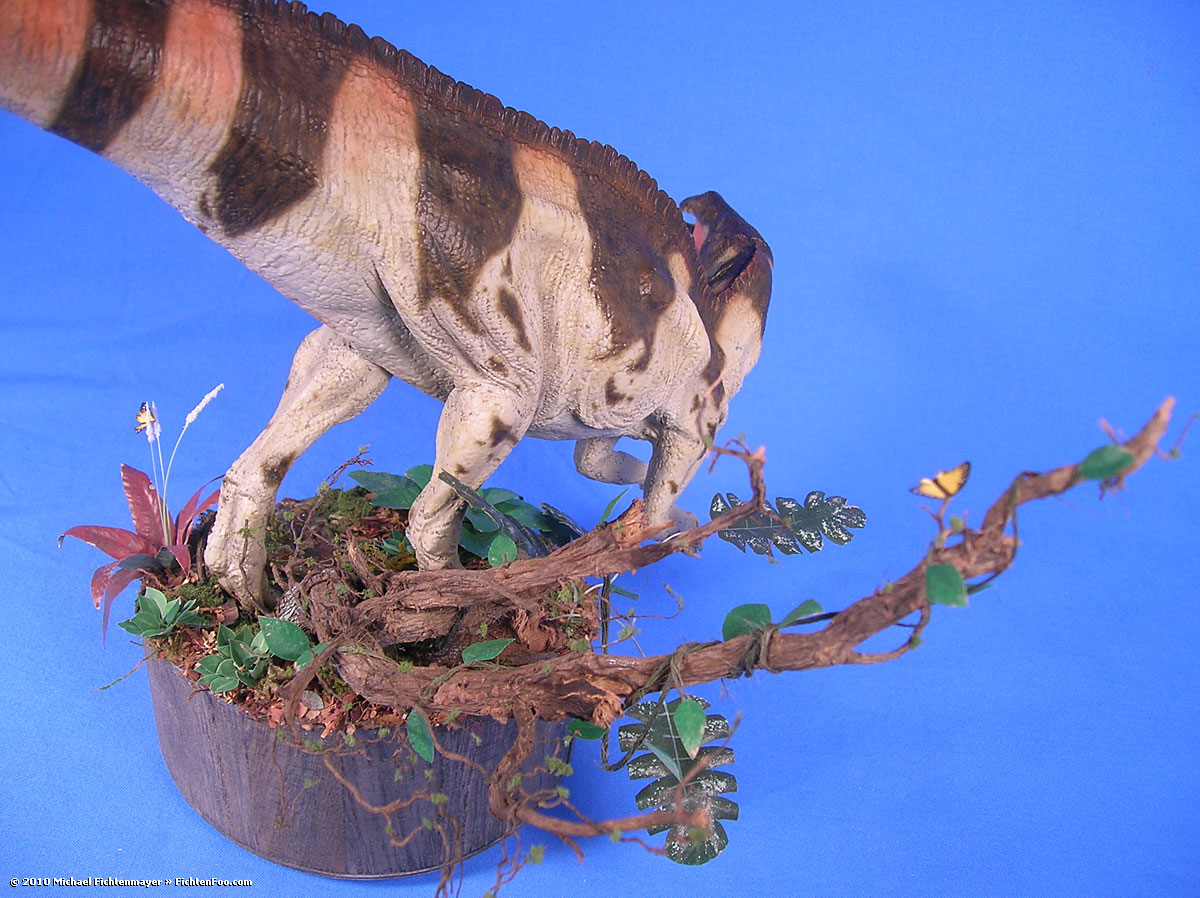
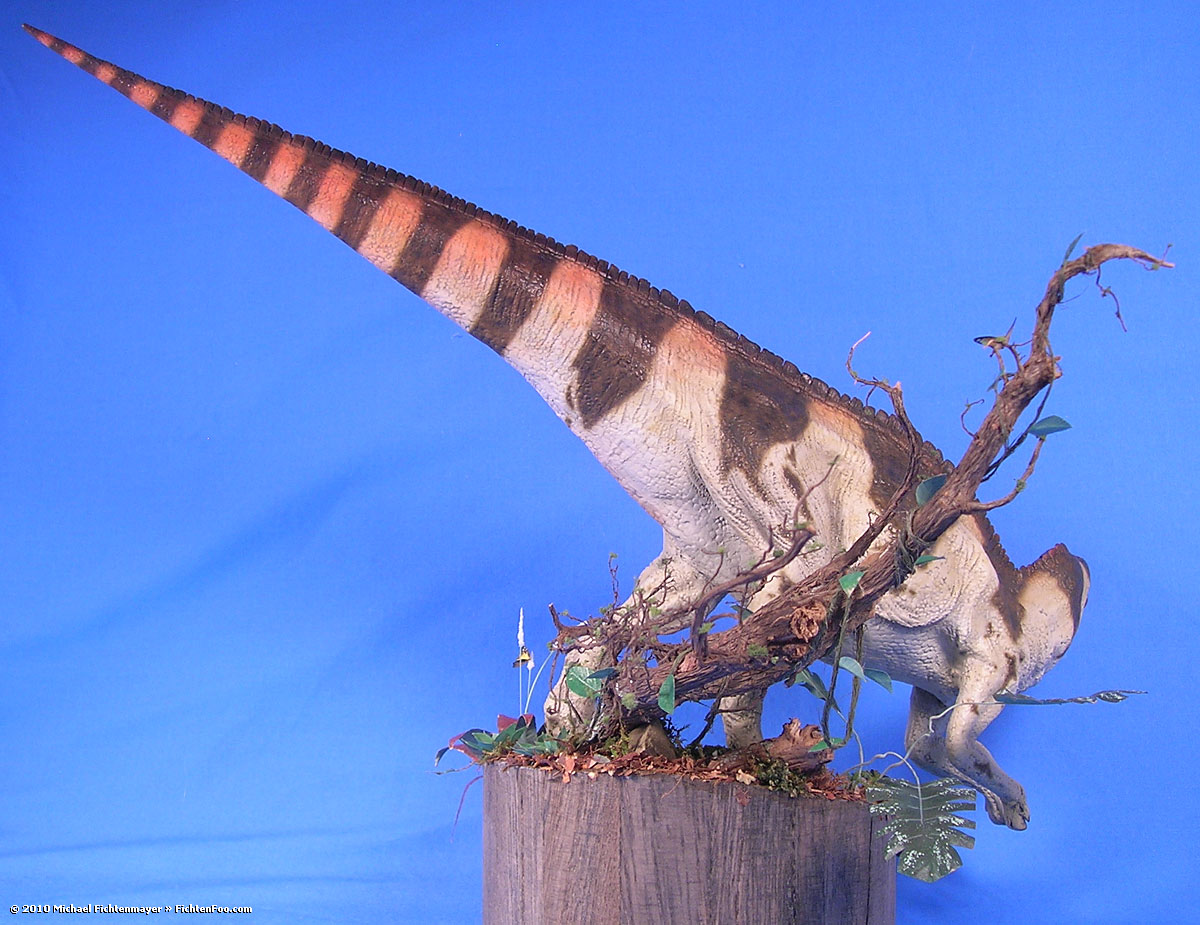
I took an unfinished round wooden jewelery box from Micheals and finished it with an Ebony Minwax stain. I wanted uneven terrain as most dino kits I see are on relatively flat and larger than the dino displays and I figured I could do something cool with a small base that takes up less shelf space. I took the Dremmel tool to the box to make a sloped terrain then filled the box with plaster. While still wet I sunk and propped the dino (which had long screws sticking out of the soles of its feet) into the plaster leaving about 1/8″ of space between the plaster and the sole of the foot. When the plaster was cured and the dino in place I covered the plaster with a dry/thin Celluclay/grit mixture. The base has a very nice weight which makes the whole piece VERY stable and not likely to tip over without a lot of force.

While the Celluclay was wet I worked in a few small rocks and some tiny pebbles sifted from concrete sand that look like scale river rock. I added a large piece of root I saved a few years ago as a warped and chewed-up tree. When the celluclay was dry I painted it with a water-thinned Raw Umber “Americana” cheapie acrylic from Michaels. Great moist dirt color. The thinness of the paint worked well in that it tinted the rocks only lightly, but darkened the celluclay to the color I wanted with ease. Once that dried I applied some thin washes of Medium Hauser Green for the small mossy stuff in the dirt. For the water I merely brushed on a raw-umber tinted glossy acrylic medium then wet-sponged it off the tips of the rocks so that the glossy wet looking stuff stayed in the cracks.

The foliage is where I’m really excited about this piece. I had made some paper leaves a few years back for a tree and decided to expand on that for this. Click here to view that as it has the basic technique and paper/paint products I used for the leaves. (and butterflies) This time, instead of a punch I had cut out all of my own leaf shapes. I lightly folded strips of the painted paper in half and cut the leaf shape in order to get them symmetrical. Then I used various dental tools to emboss them on a thickly folded piece of paper towel to get the bumps, veins and ridges. Then I applied any additional colors I need with sponge or brush such as the dead edges or the lighter mottled effects of the large elephant ear leaves. Plants were created a leaf at a time on the base using white glue. I think they turned out great and add a lot of visual interest. Moss was created by mixing fine ground turf with water and white glue, applying it, letting it dry, then lightly dry-brushing the tops. Ground-litter is composed of crushed up fall leaves and dried sheet moss.


Enough chat, here’s pics:


![Maude [Cyborg Action-Doll] (Files Only)](https://fichtenfoo.net/blog/wp-content/uploads/2023/01/Maude-Promos-300x300.jpg)


